Salt-laden wind, sudden downpours, and debris carried in off the Pacific have a way of quietly stressing a roof long before a leak appears inside your home. In Santa Barbara, where ocean storms can shift from mild to punishing within hours, the period right after a storm passes is when small problems either get caught or get expensive. A displaced tile, a clogged drain on a flat roof, or a cracked ridge cap left unaddressed through the next weather cycle almost always becomes a bigger repair than it had to be. This guide walks Santa Barbara homeowners through a safe, methodical maintenance routine to run after any significant storm, and explains exactly when to hand things off to a licensed roofer.
Before you start any post-storm work, understand that maintenance and structural evaluation are two different things. Clearing debris and making a visual check from the ground or a low, stable ladder is appropriate for a homeowner. Assessing whether tiles have shifted, underlayment is compromised, or flashing has lifted requires a trained eye. Our complete guide to evaluating roof damage after Santa Barbara storms covers that structural side in depth, and we recommend reviewing it alongside this maintenance checklist so you know which findings call for professional follow-up.
Before You Start: What You’ll Need
- Sturdy, non-slip ladder rated for your weight plus tools
- Non-slip shoes with good ankle support
- Work gloves (debris edges can be sharp)
- Safety glasses
- A garden hose or low-pressure sprayer
- A soft-bristle brush or broom (never a wire brush on tile)
- A bucket for collecting debris
- Binoculars for ground-level ridge and hip inspection
- A flashlight or headlamp for attic checks
- Your phone camera for documenting anything unusual
Safety note: Never walk directly on clay or concrete tile. Tiles crack under point loading and a cracked tile can give way. If your roof pitch is steep or the surface is still wet, stay on the ladder and work from there, or wait for dry conditions. Any work that requires stepping onto the roof surface should be left to a professional.
Step 1: Do a Full Ground-Level Walk-Around First
Before you climb anything, walk the entire perimeter of your home at ground level. Look up at every roof plane, ridge line, hip, and valley you can see. Use binoculars to examine the ridge cap tiles and any areas where two roof surfaces meet. Ocean storms in Santa Barbara frequently arrive from the southwest, so pay particular attention to the windward-facing slopes, which absorb the most direct force. Note any tiles that appear lifted, cracked, or missing. Check the gutters and downspout bases for an unusual volume of granules or broken tile fragments, which signal surface damage above. Photograph anything that looks off. This visual pass costs nothing and often reveals the most obvious problems before you even touch a ladder.
Step 2: Clear Debris from Gutters and Downspouts
Santa Barbara storms routinely deposit eucalyptus leaves, palm fronds, pine needles, and small branches onto roofs and into gutters. Clogged gutters are one of the most underappreciated post-storm hazards: water that cannot drain backs up under the eave, saturates the fascia board, and eventually finds a path into the attic or wall cavity. Put on your gloves, position the ladder securely at the gutter, and remove debris by hand into a bucket. Work in sections rather than pushing debris toward the downspout, which can create a compacted blockage. Once the gutter is clear, run a garden hose from the far end toward the downspout to flush fine sediment and confirm the downspout is flowing freely. If water pools in the gutter rather than draining, the gutter may have shifted pitch during the storm and should be re-secured.
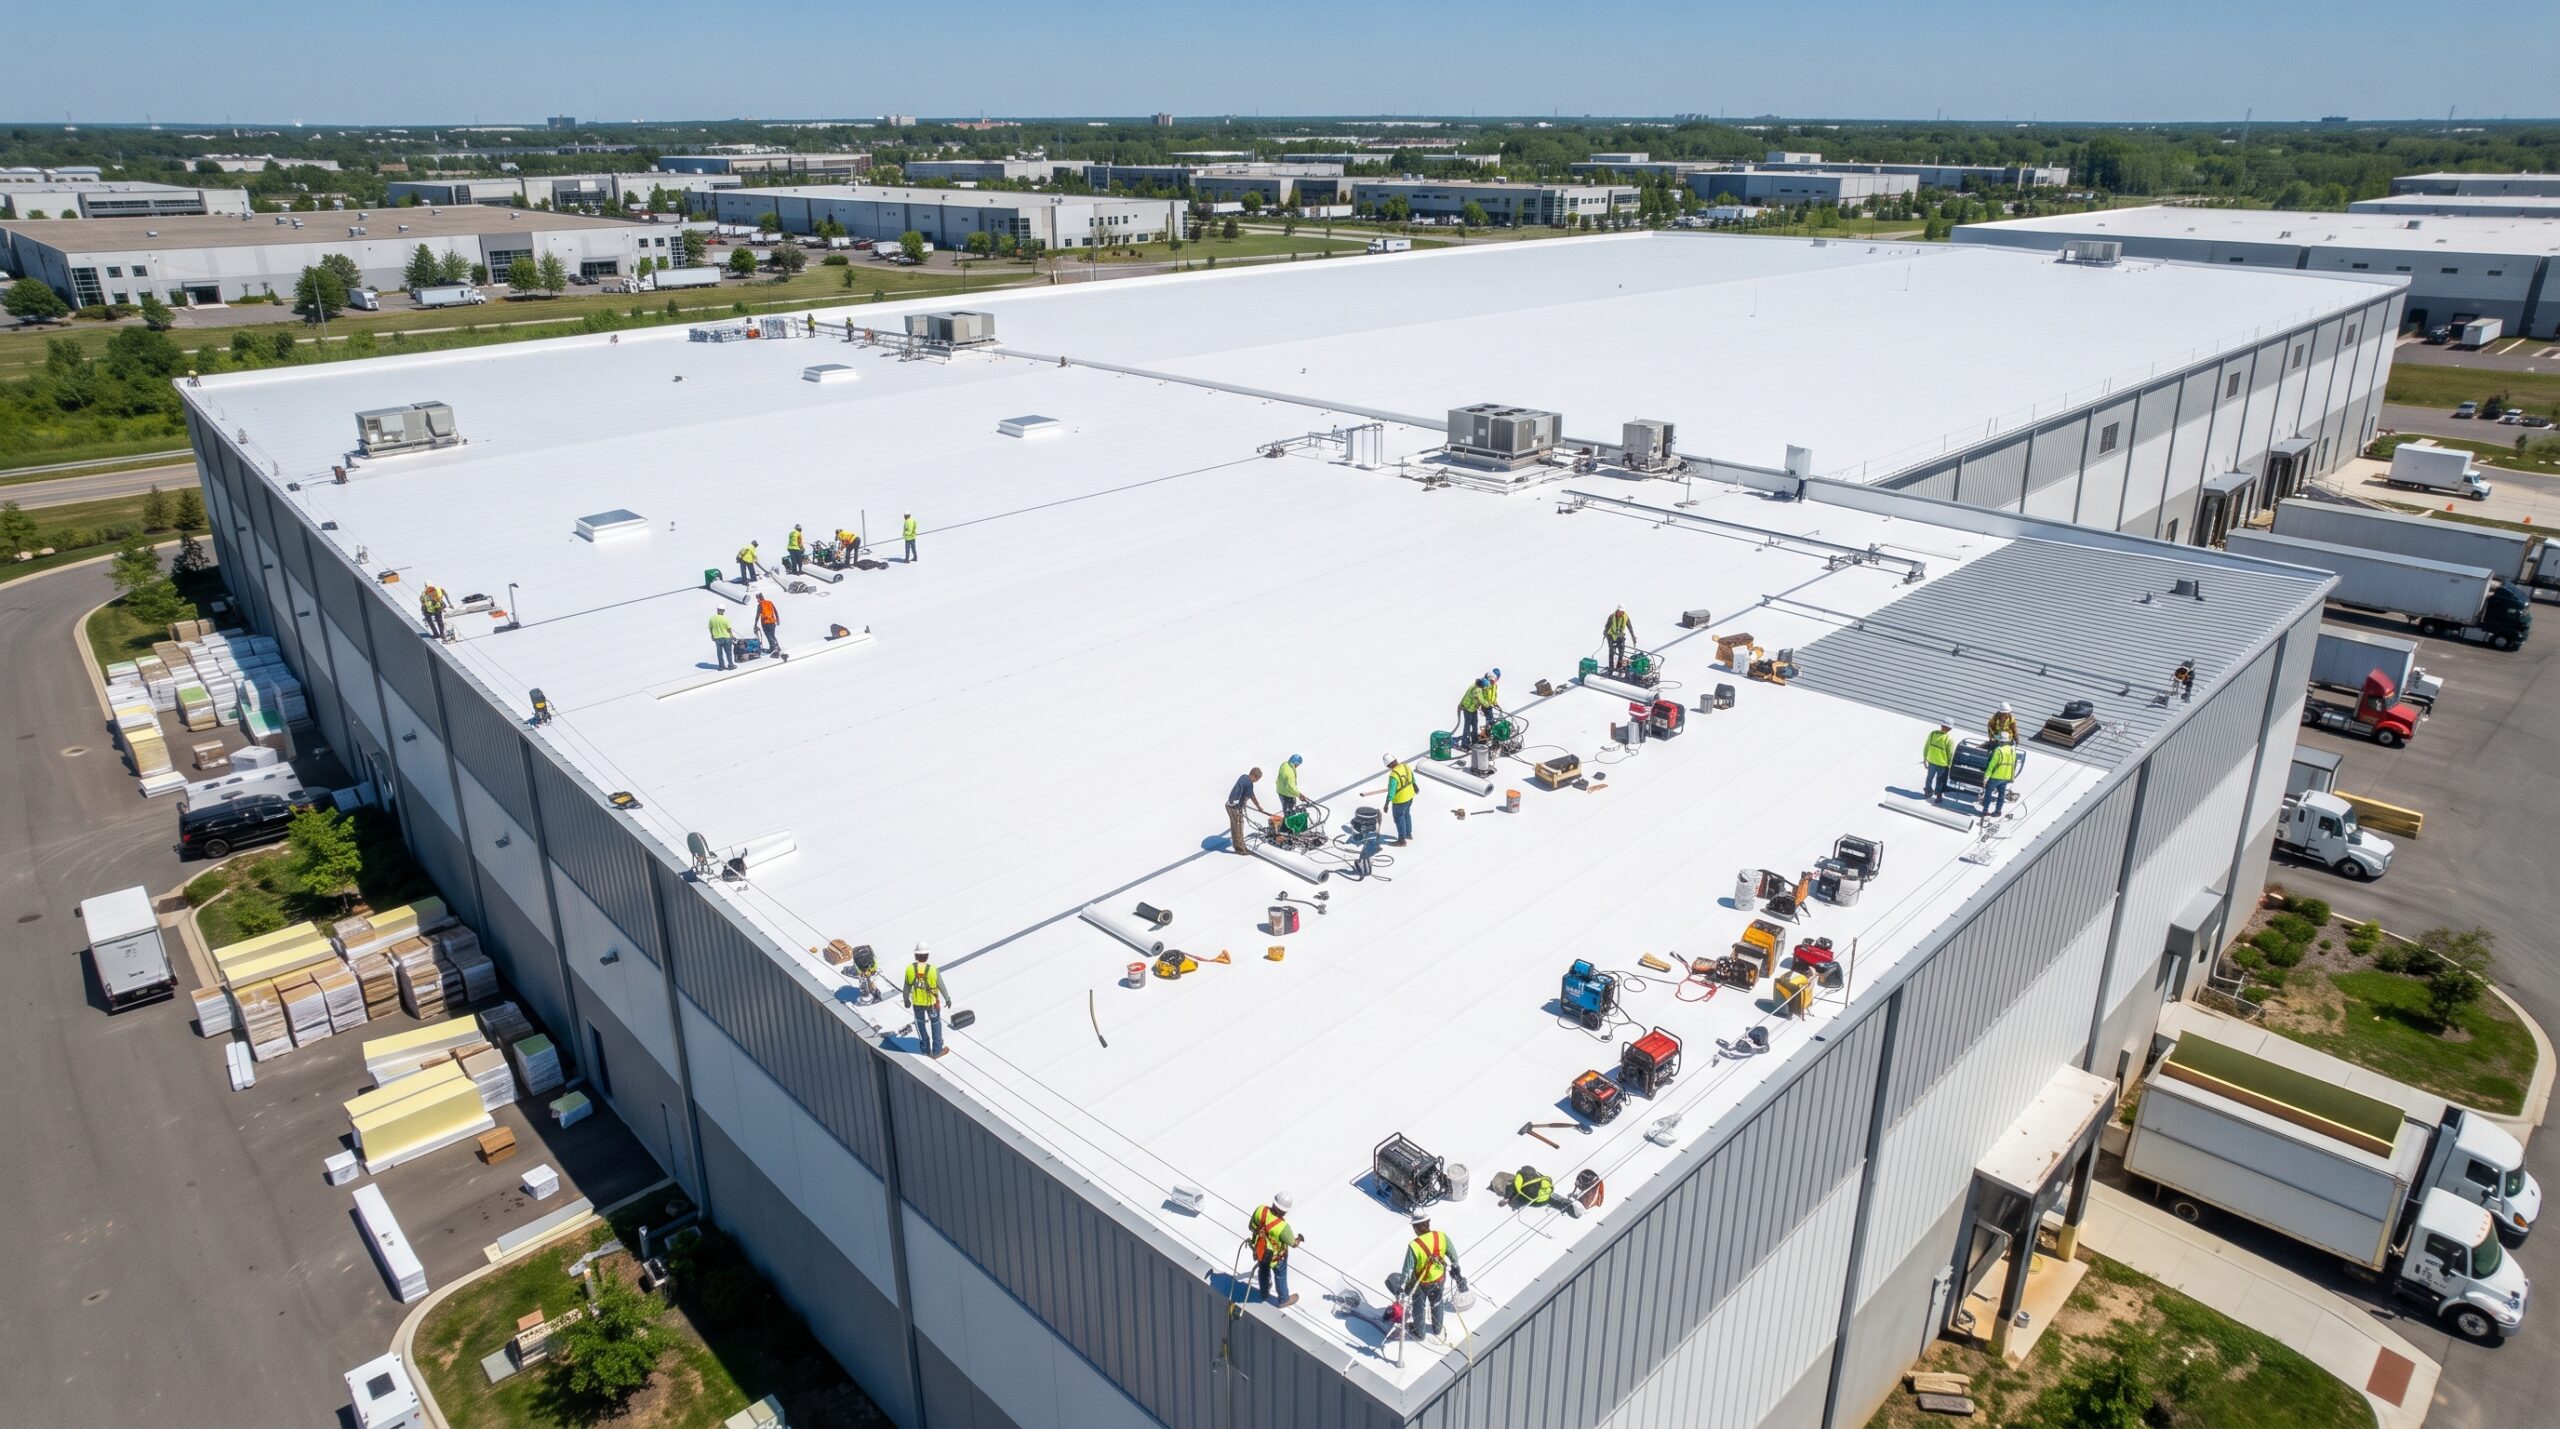
Step 3: Remove Debris from the Roof Surface (Without Walking on Tile)
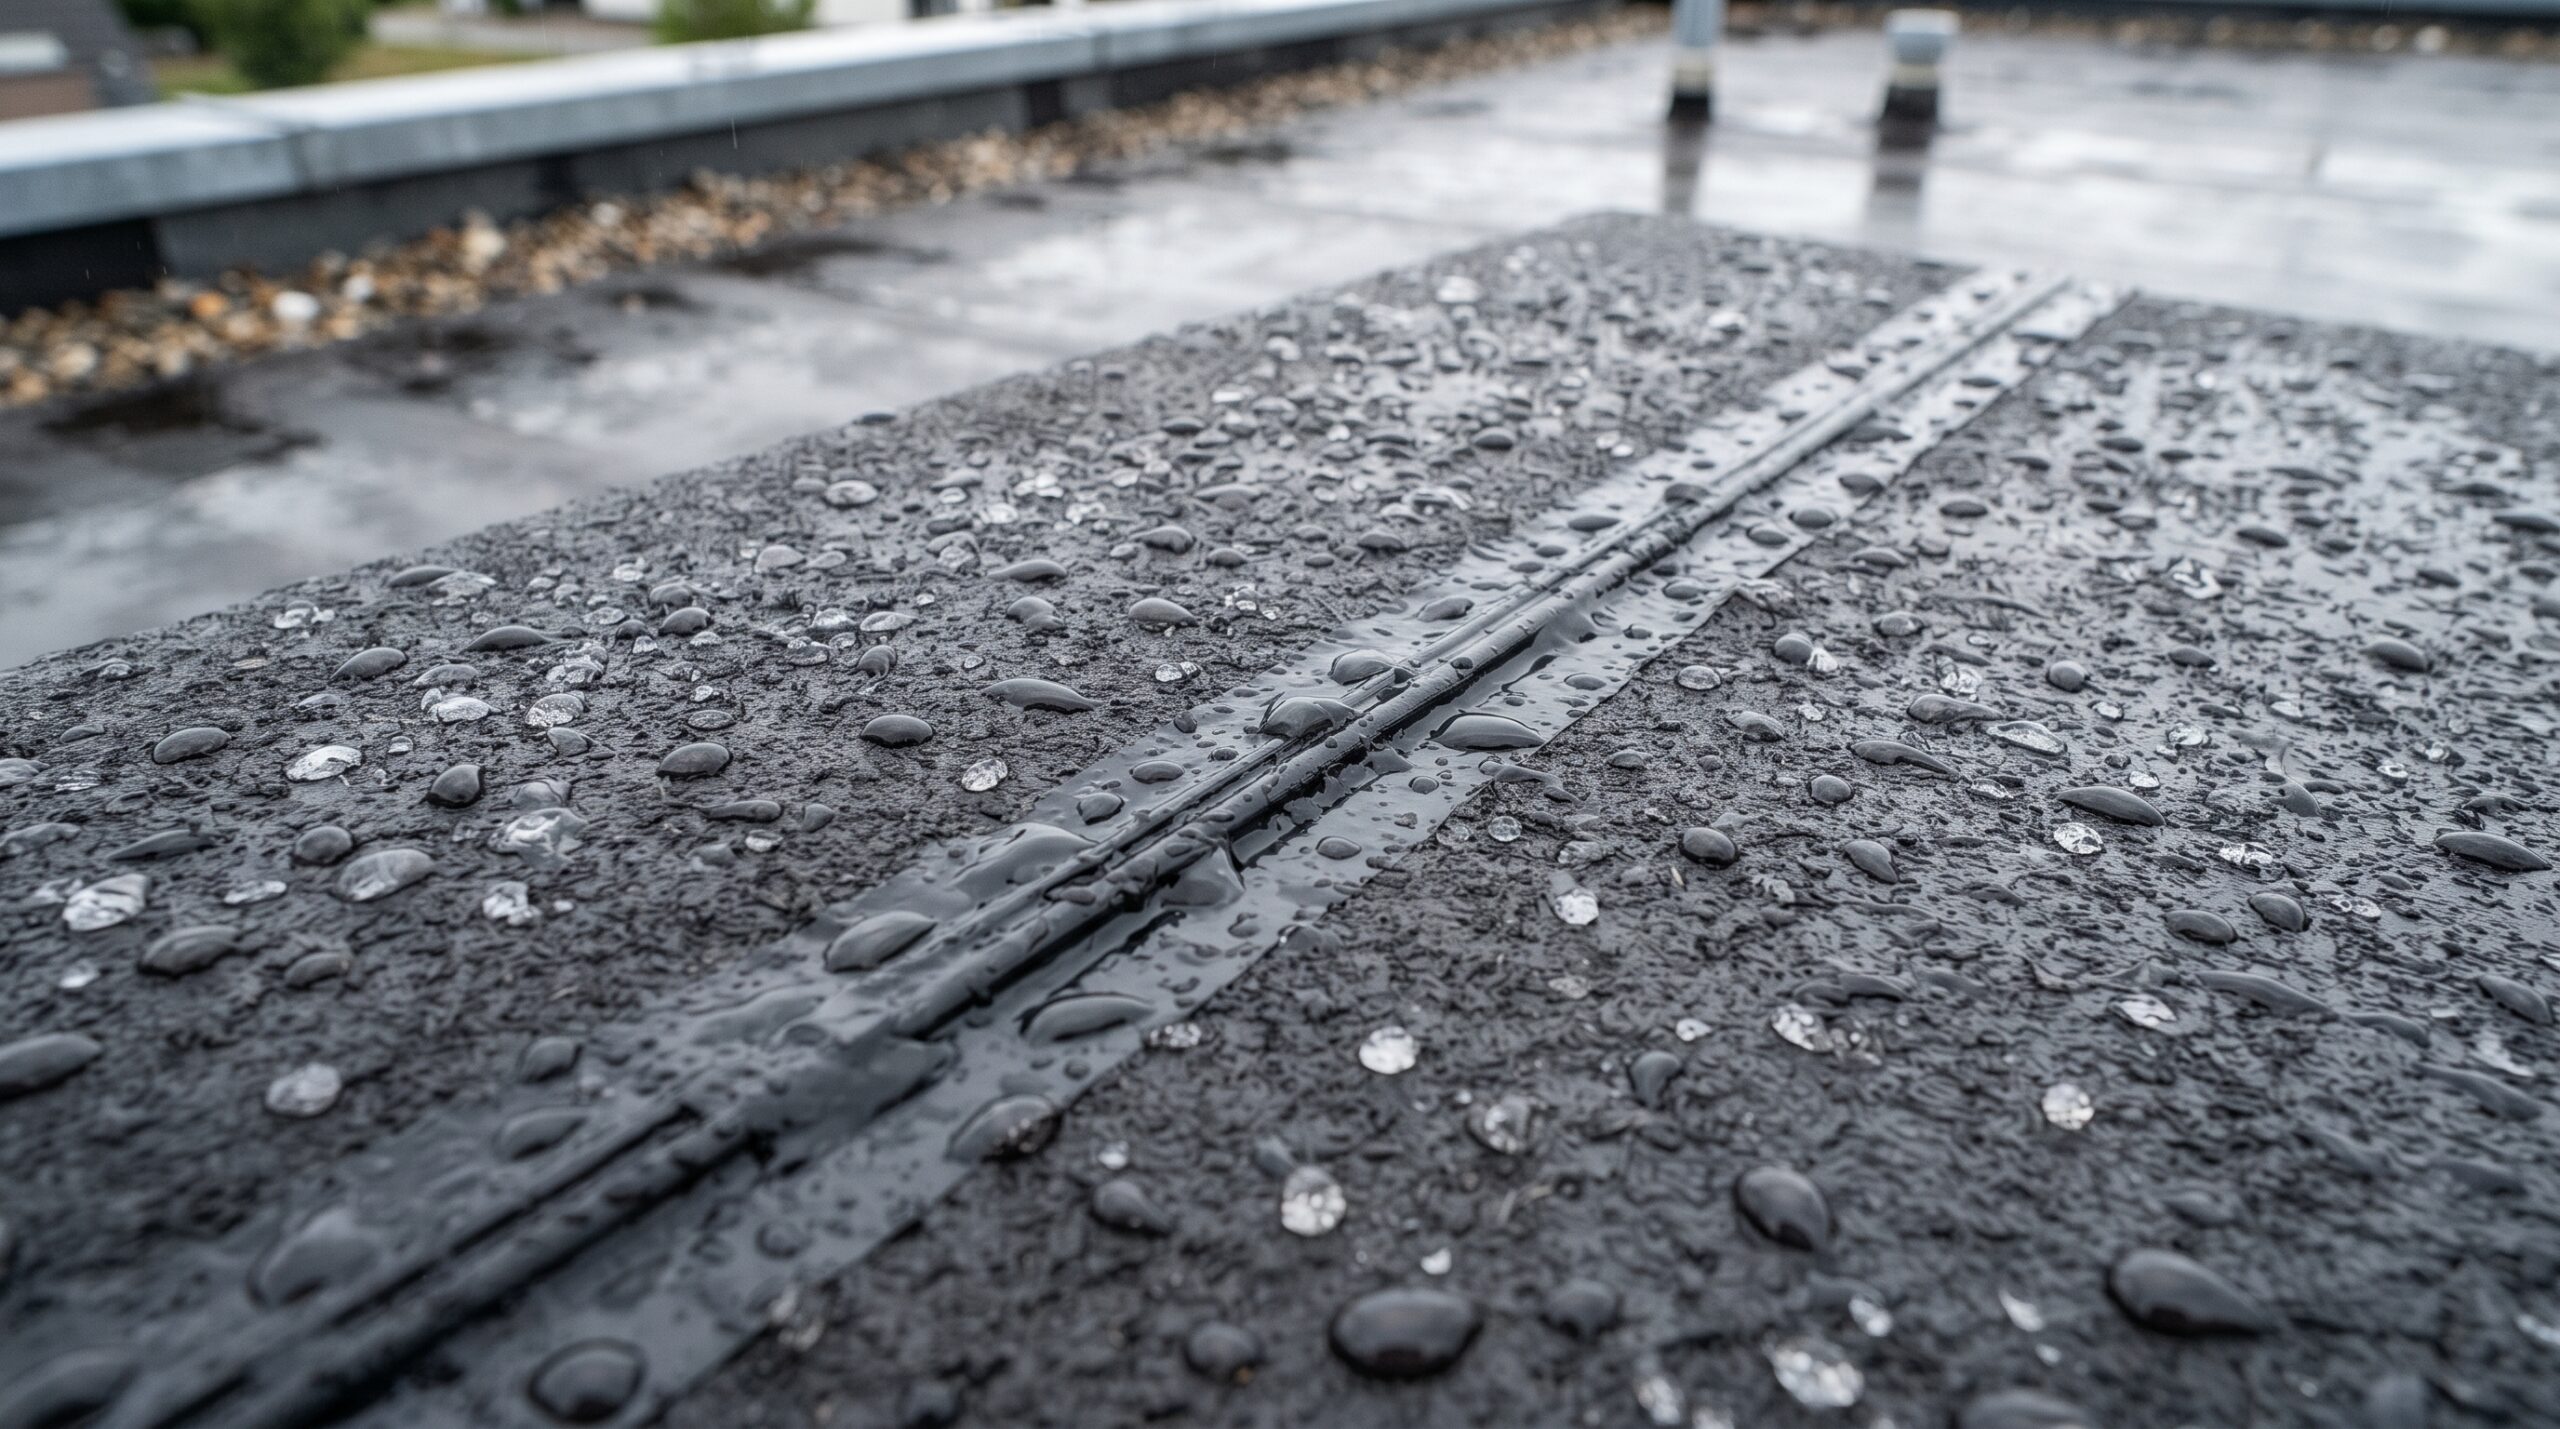
Branches, palm fronds, and accumulated leaf matter sitting on the roof hold moisture against the surface, accelerating the degradation of underlayment and grout on mortar-set tiles. From a stable ladder positioned at the eave, use a soft-bristle push broom with an extended handle to gently sweep debris off the roof edge. Work with the slope, not against it, so debris falls away from the roof rather than being pushed under tiles. Never use a pressure washer on clay or concrete tile: high-pressure water forces moisture under the tile and can dislodge the granule surface on any flat-roof membrane below. A low-pressure garden hose rinse is acceptable once loose debris is removed. For debris lodged in valleys or behind dormers, the safest approach is to contact a roofer who can access those areas safely.
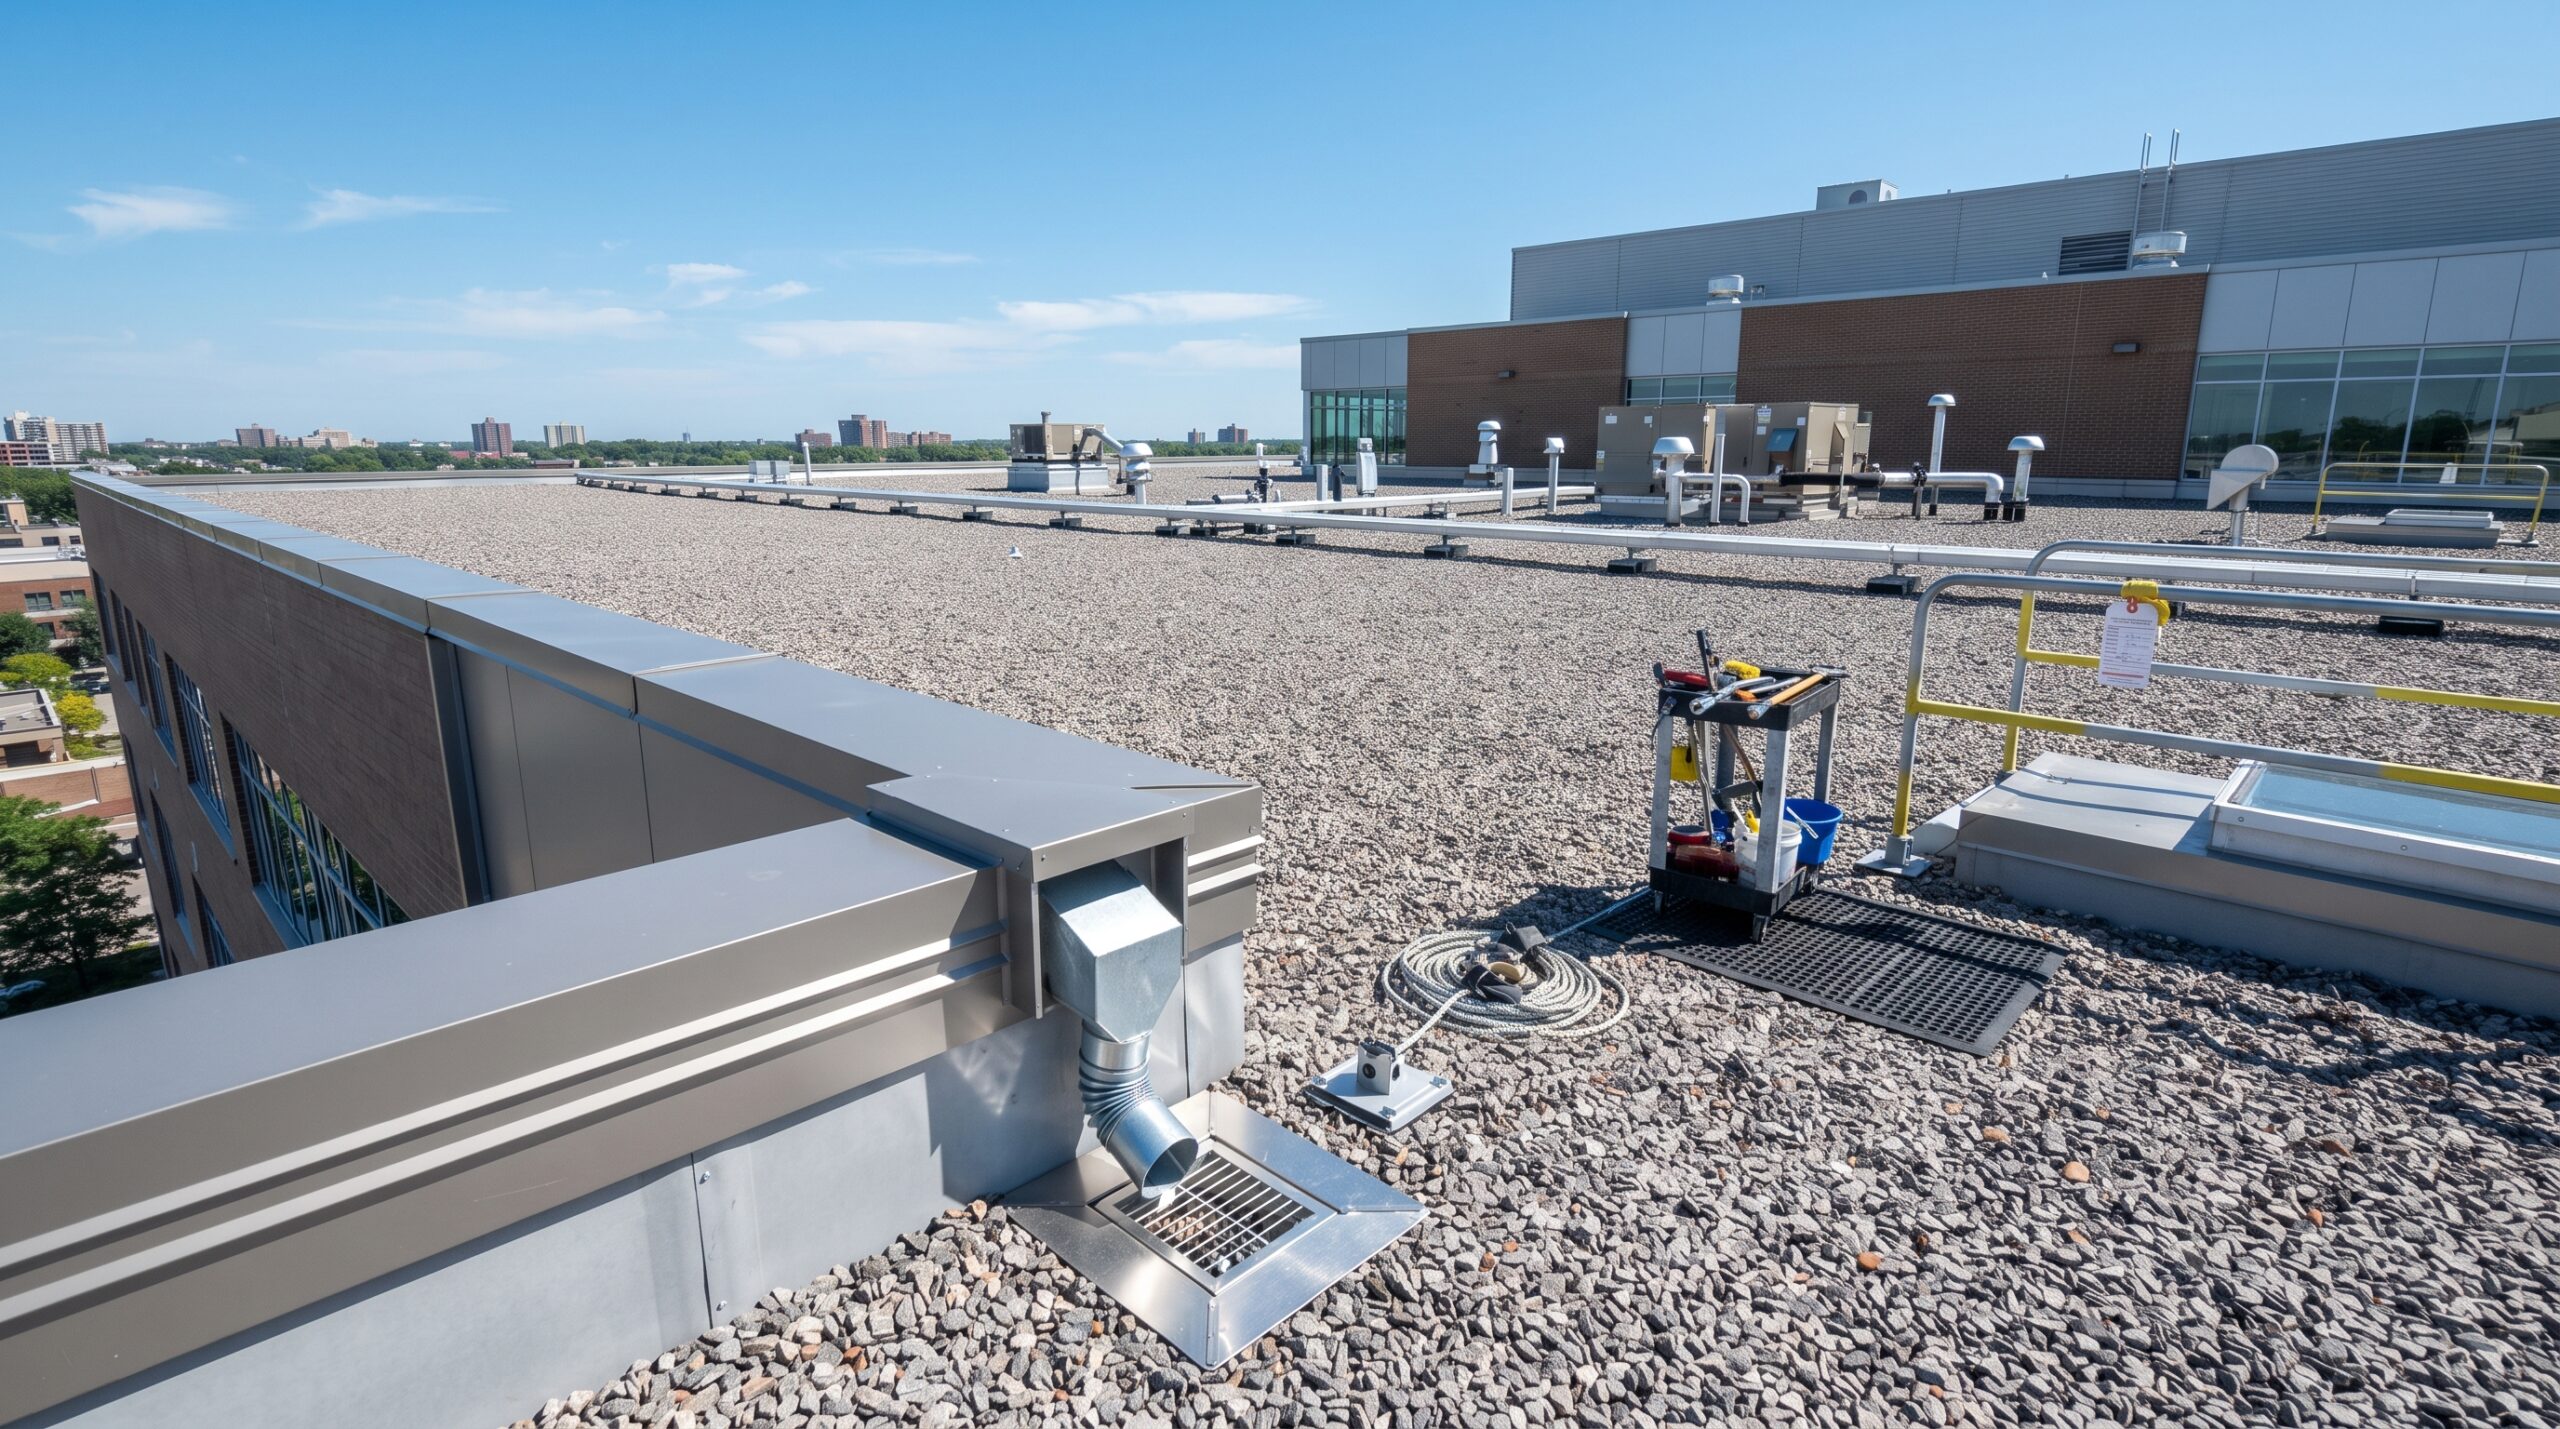
Step 4: Inspect and Clear Flat-Roof Drains and Scuppers
Many Santa Barbara properties, particularly mid-century modern and Spanish Colonial Revival homes with low-slope or flat-roof sections over garages, additions, or commercial spaces, rely on interior drains or perimeter scuppers rather than gutters. These are the most storm-vulnerable drainage points on a flat roof. A single blocked drain during a heavy rain event can pond water that exceeds the roof membrane’s load tolerance. From the ladder or from a safe access point, visually confirm that every drain and scupper opening is clear of leaves, debris, and sediment. If you can reach a drain safely without stepping onto the membrane, remove the strainer, clear the debris, and replace it. If a drain is in the middle of a flat-roof field and requires walking across the membrane to reach, schedule a maintenance visit rather than risking a slip or membrane puncture.
Step 5: Check Attic Ventilation Openings and Soffits
If you want it handled correctly the first time, consider professional landing page for polyglass flat roofing in Santa Barbara.
Storm winds can pack debris into soffit vents and ridge vents, restricting airflow in the attic. Reduced attic ventilation allows heat and moisture to build up, which accelerates the breakdown of roof decking and shortens the life of the roofing material above. From the ground, look along the soffit line for any vents that appear blocked or where screens have been pushed in. Inside the attic, use a flashlight to check that light is visible through ridge and gable vents and that no insulation has been blown against the soffit vents by wind pressure. Clear any accessible blockages by hand or with a soft brush. If you see daylight through the roof deck where there should not be any, or notice wet insulation or water staining on the rafters, stop and contact a roofer. Those are signs of a breach that maintenance cannot address.
Step 6: Document Everything with Photos and Notes
Before you put any tools away, take a systematic set of photographs: each roof plane from ground level, the gutters after clearing, the downspout outlets, any debris piles you removed, and any areas that looked unusual even if you could not confirm damage. Include a timestamp by enabling location and date data in your phone camera settings. This documentation serves two purposes. First, it gives a roofer a baseline to compare against during a follow-up inspection. Second, it supports any insurance claim if a storm-related issue develops over the following weeks. Santa Barbara homeowners sometimes find that a claim is complicated by the inability to prove when damage occurred. A dated photo record removes that ambiguity. See our tile roof inspection guide for a checklist of the specific areas most worth photographing on a tile roof.
Step 7: Run an Interior Check for Early Water Intrusion Signs
After completing the exterior work, go through the interior of the home methodically. Check the attic with a flashlight for any new water staining on the sheathing, wet insulation, or daylight visible through the deck. On the top floor, look at ceiling corners, the areas around any skylights, and the walls directly below roof valleys or hips. Water staining often appears as a yellow or brown ring on drywall or plaster. In Santa Barbara’s older Spanish Colonial and Craftsman homes, the plaster walls can absorb a significant amount of moisture before a stain becomes visible, so a damp or musty smell in a room that was previously dry is worth investigating even without a visible mark. If you find any sign of active moisture intrusion, this is a condition that warrants a professional inspection rather than a wait-and-see approach.
Step 8: Check and Re-Secure Any Loose Flashing or Vent Covers You Can Safely Reach
Plumbing vent boots, exhaust vent covers, and the exposed edges of step flashing around chimneys or dormers are common points where storm wind creates movement. From the ladder at the eave or from a ground-level view with binoculars, look for any vent cover that appears cocked to one side, any flashing edge that has lifted away from the wall, or any caulk joint around a penetration that appears cracked or separated. If a vent cover is loose and reachable from the ladder without stepping onto the roof, pressing it back into place and applying a roofing-grade sealant is a reasonable temporary measure. Any flashing that has fully separated or any situation requiring you to step onto the roof surface should be handled by a professional. Improperly re-secured flashing can create a false sense of security while water continues to infiltrate beneath it.
Step 9: Schedule a Professional Follow-Up If Any Red Flags Appeared
Post-storm maintenance is a homeowner’s first line of observation, not a substitute for a trained roof inspection. If any of the following appeared during your walkthrough, schedule a professional roof damage inspection before the next storm cycle arrives:
- Missing, cracked, or visibly displaced tiles
- Granule accumulation in gutters beyond what is typical after a storm
- Any sign of water intrusion in the attic or on interior ceilings
- Lifted or separated flashing at any penetration or wall intersection
- Standing water on a flat-roof section more than 48 hours after the storm
- Visible daylight through the attic deck
- Soft or spongy areas on the roof deck felt through the tile (if a roofer was walking the roof)
For context on what those findings mean structurally, the signs your coastal roof needs repair article explains how to interpret the most common post-storm indicators on Santa Barbara homes.
Santa Barbara’s Coastal Conditions: Why This Maintenance Routine Matters Here Specifically
Many Santa Barbara homeowners rely on expert landing page for polyglass flat roofing in Santa Barbara for exactly this.
Santa Barbara sits in a geographic position that makes its roofing environment genuinely distinct from inland Southern California. The city’s housing stock skews older, with a large share of homes built between the 1920s and 1960s in the Spanish Colonial Revival style that defines the city’s architectural character. Those homes typically feature low-slope clay tile roofs with mortar-bedded ridges and hips, a system that performs beautifully in dry conditions but requires consistent maintenance to hold up against the salt-air exposure and seasonal storm cycles the area actually sees.
The marine layer that settles over Santa Barbara’s coastal neighborhoods most mornings deposits fine salt particulate on roofing surfaces. Over time, salt degrades mortar joints, accelerates oxidation on metal flashing, and etches the surface of clay tile in ways that are not visible until a storm introduces water into those micro-fractures. The Sundowner winds, a local phenomenon specific to the Santa Barbara area, arrive from the north and northeast with unusual speed and can generate localized gusts that dislodge tiles on slopes that face away from the typical Pacific storm track, catching homeowners off guard. The combination of marine-layer salt exposure and episodic high-wind events means that roofs here age differently than the manufacturer’s general estimates suggest, and that post-storm maintenance is not optional housekeeping but a meaningful part of managing the actual lifespan of the roof system. Our Santa Barbara storm roof damage evaluation guide goes into the structural consequences of deferred post-storm care in more detail.
When to Call a Professional in Santa Barbara
The maintenance steps above are designed to be completed safely from the ground or from a ladder at the eave. The moment a task requires stepping onto the roof surface, working at ridge height, re-securing structural components, or interpreting whether damage is cosmetic or structural, the work belongs with a licensed roofing contractor. In Santa Barbara specifically, tile roofs require someone with hands-on experience with clay and concrete tile systems: improper foot placement cracks tiles, and a cracked tile that goes unnoticed becomes a leak path. Flat-roof membranes require similar care to avoid puncture during any inspection or maintenance work.
If you found red flags during your walkthrough, or if the storm was severe enough that you want a professional baseline assessment even without obvious damage, NEMA Roofing Repair Company serves Santa Barbara homeowners with roof inspections, tile repair, and flat-roof maintenance. Reach out for a professional post-storm roof inspection to get a clear picture of where your roof stands before the next weather system arrives.
Frequently Asked Questions
How soon after a storm should I do this maintenance walkthrough?
Wait until the weather has fully cleared and the roof surface has had time to dry, which in Santa Barbara typically means the morning after the storm has passed. Wet tile is significantly more slippery than dry tile, and attempting any ladder work in residual wind or rain introduces unnecessary risk. A 24-hour wait after the last rain is a reasonable minimum.
My gutters look fine but I noticed granules in the downspout discharge. Is that a problem?
A small amount of granule shedding after a storm is normal for asphalt-based flat-roof membranes and is not always a sign of failure. However, a notable volume of granules, particularly if it is more than you have seen after previous storms, can indicate that the membrane surface is degrading. Document the volume with a photo and mention it during your next professional inspection so the roofer can correlate it with the membrane’s condition on the roof.
Can I use a leaf blower to clear debris off my tile roof?
A leaf blower can move loose, dry debris off a tile roof without the contact risk of a broom, and some roofers use them for exactly this purpose. The caution is that high-velocity air directed under the tile overlap can dislodge tiles that are already loose from storm movement. If you use a blower, keep the nozzle angled with the slope, not against it, and stay at the eave on a stable ladder rather than walking the roof surface.
How is post-storm maintenance different from a professional roof inspection?
Maintenance is about removing hazards and restoring drainage so the roof can function as designed. A professional inspection assesses the structural integrity of the roofing system: whether tiles, underlayment, decking, and flashing are performing correctly and what the remaining service life looks like. The Santa Barbara tile roof inspection guide explains what a thorough professional inspection covers on a tile system.
Does Santa Barbara have any specific permit requirements for post-storm roof repairs?
Permit requirements for roof repairs in Santa Barbara vary depending on the scope of work. Minor repairs such as replacing a small number of tiles or re-securing flashing often fall below the permit threshold, but more extensive work, particularly on homes in the city’s historic districts, may require review. Requirements change and vary by project, so consult your licensed roofing contractor and check with the City of Santa Barbara Building and Safety Division for current requirements before committing to any repair scope.
Keep Your Roof Ready for Whatever the Pacific Sends Next
Santa Barbara’s coastal setting is part of what makes it a genuinely beautiful place to live, and that same coastline means the roofs here work harder than most. Running through this maintenance checklist after each significant storm is one of the most straightforward things a homeowner can do to extend the life of a tile or flat roof and avoid the kind of slow, invisible water damage that only reveals itself after it has already caused serious harm. Clear the debris, confirm the drainage, document what you see, and call in a professional whenever the findings go beyond what a ladder and a garden hose can address. That combination of consistent homeowner attention and timely professional follow-up is what keeps Santa Barbara roofs performing through years of marine air and storm cycles.