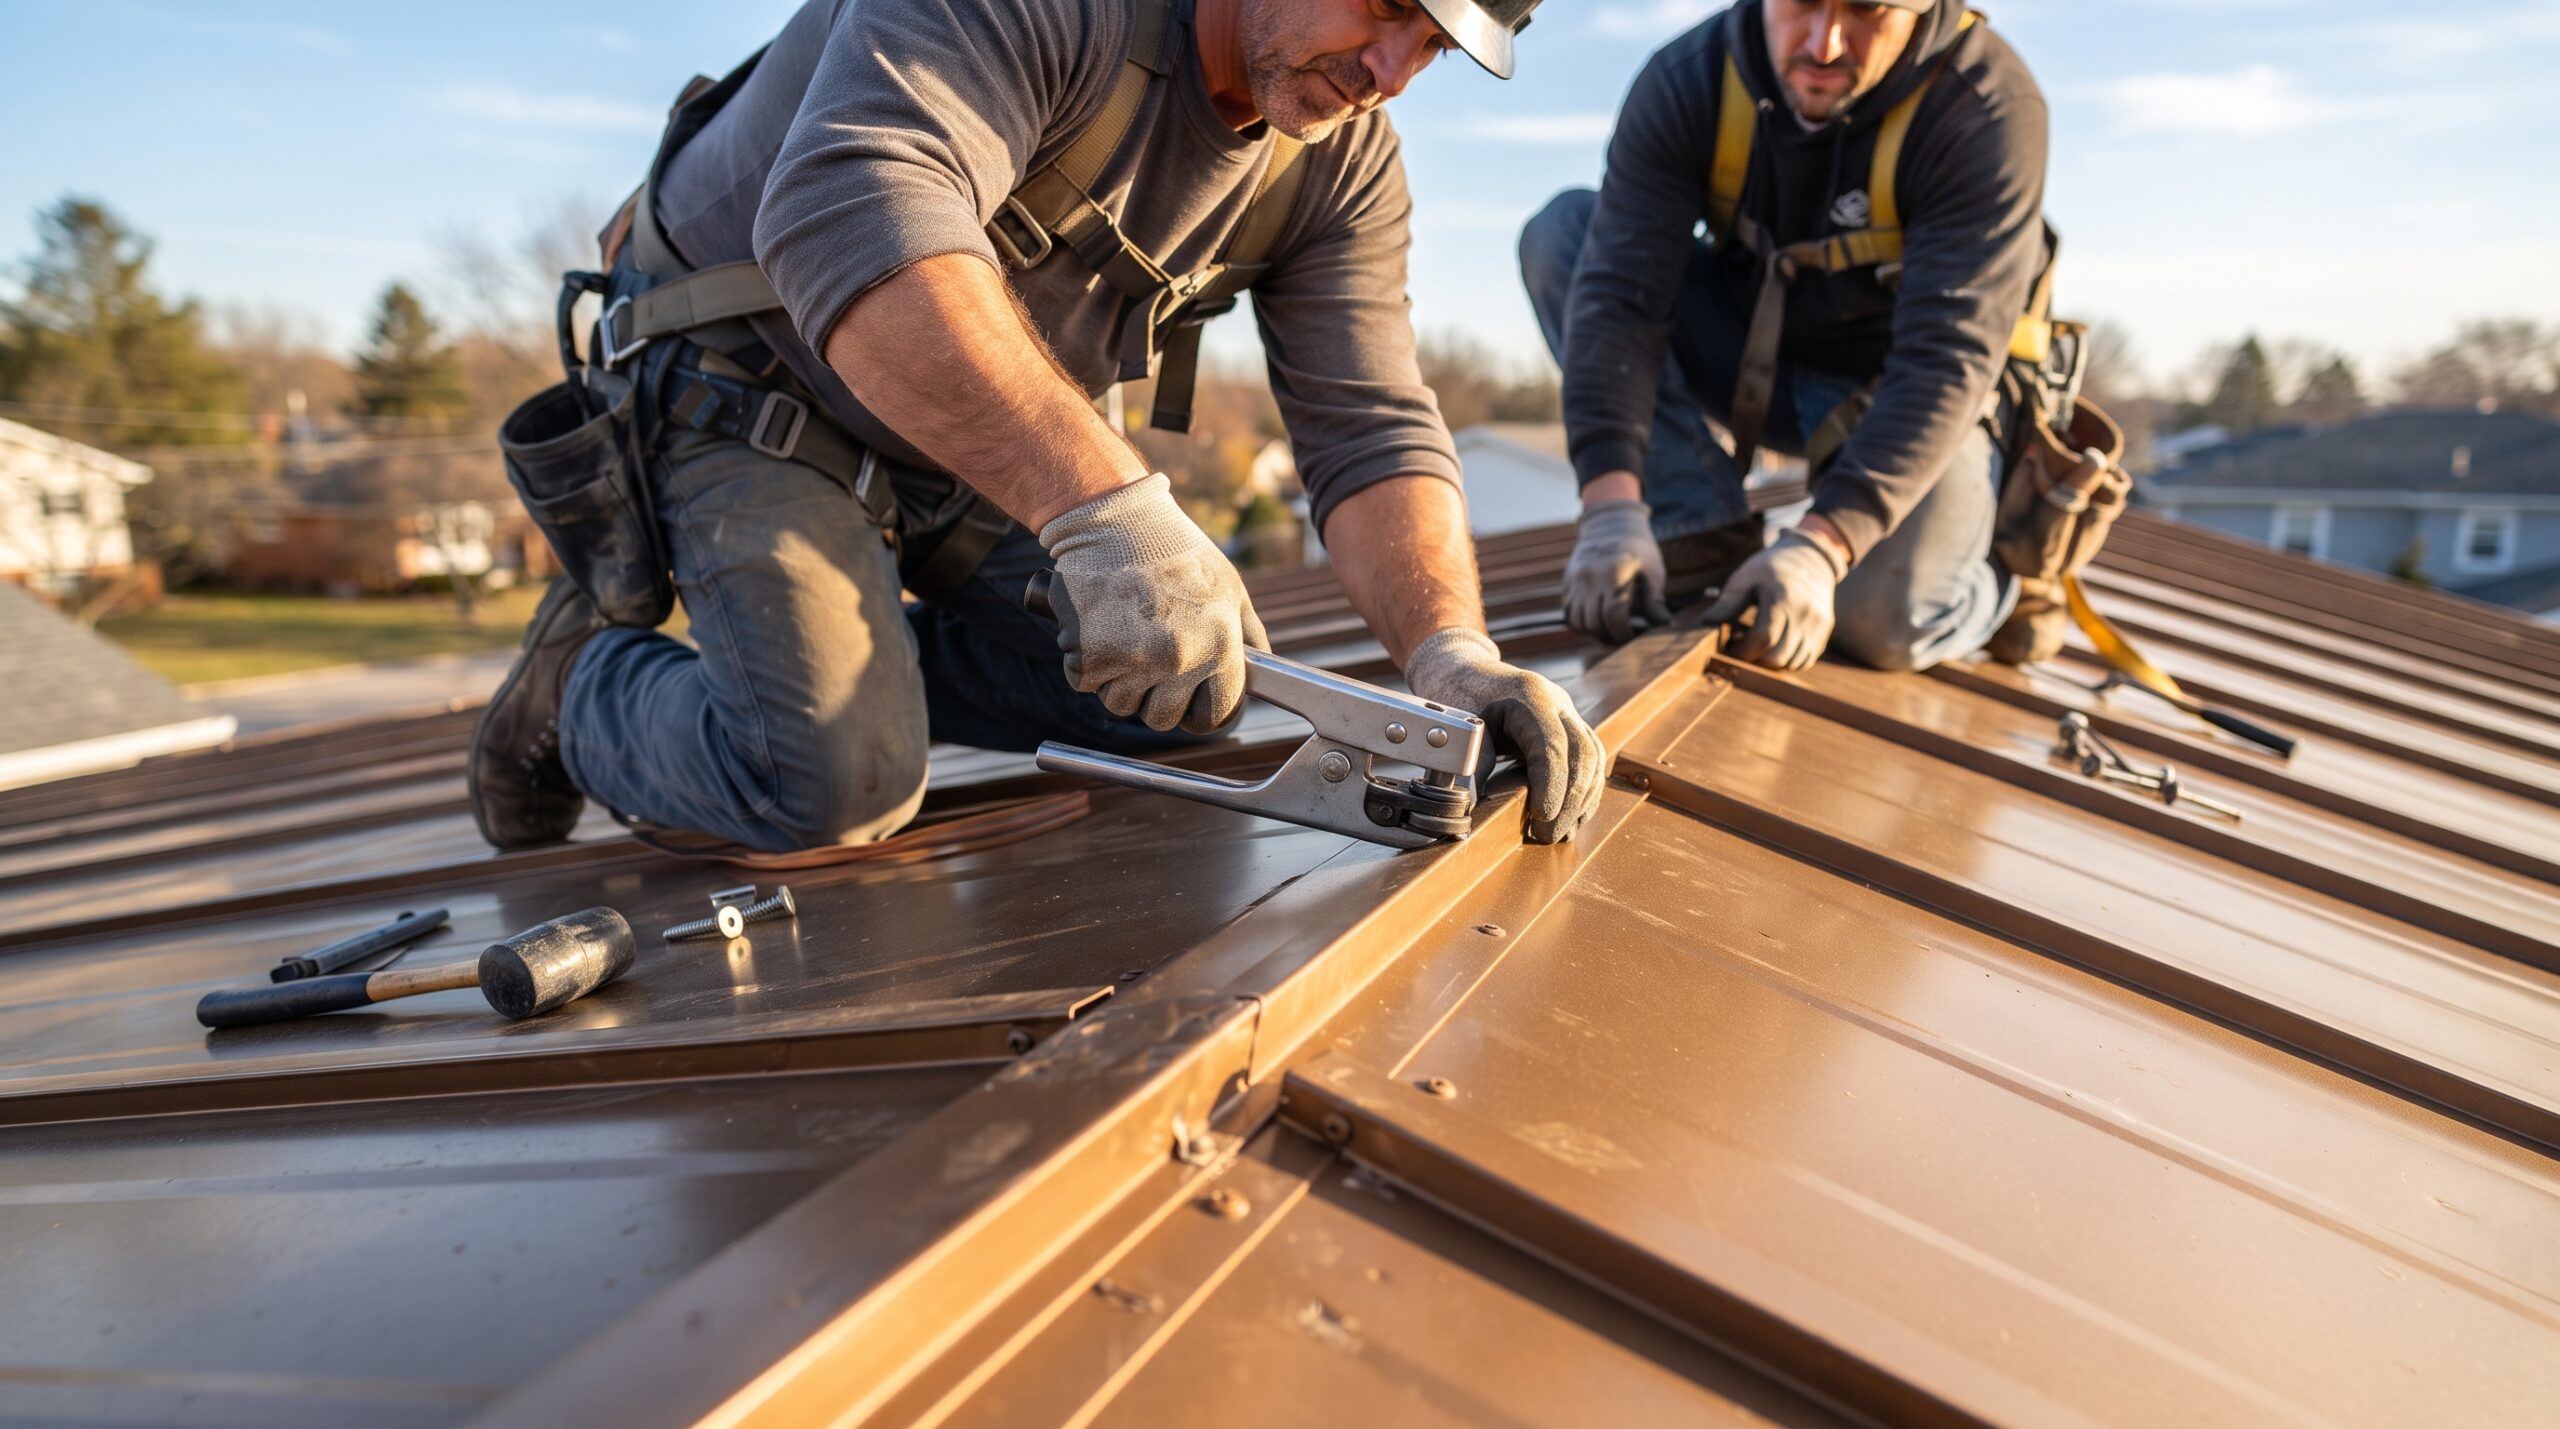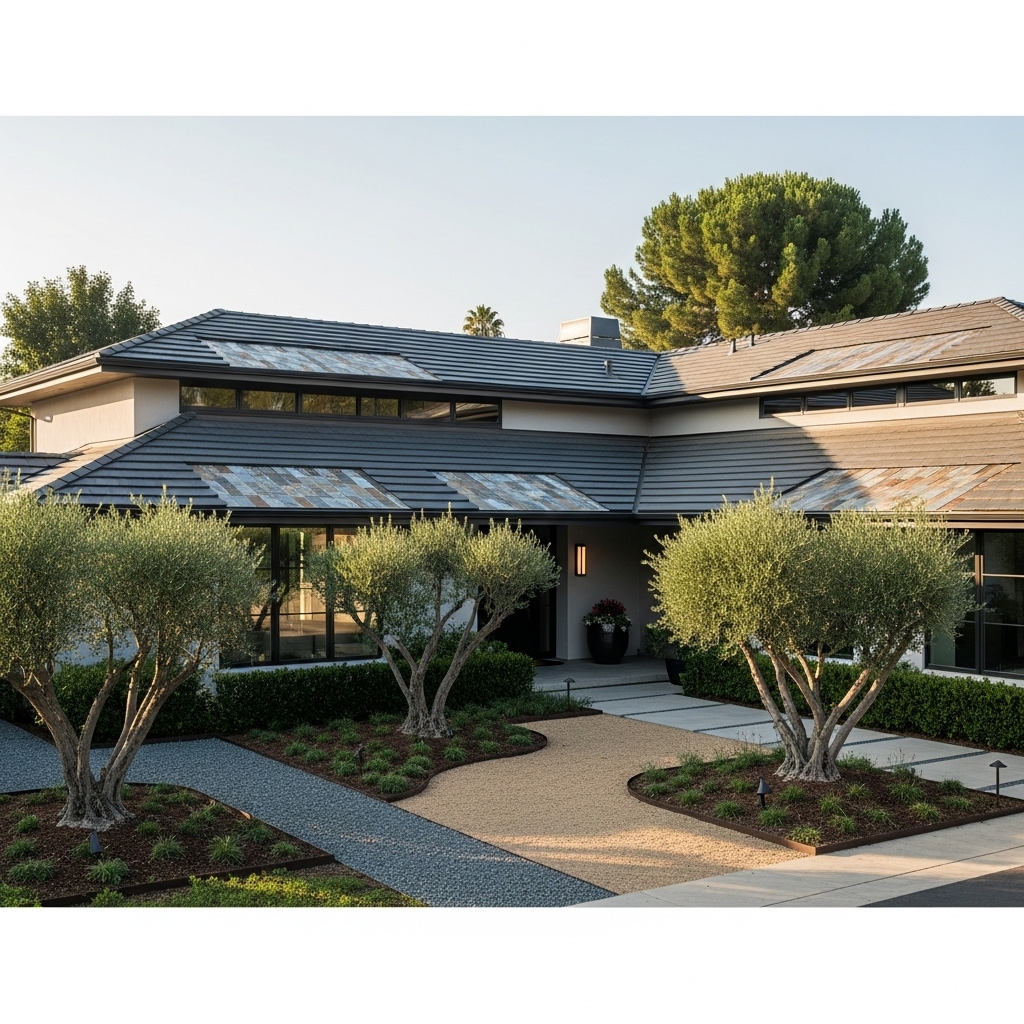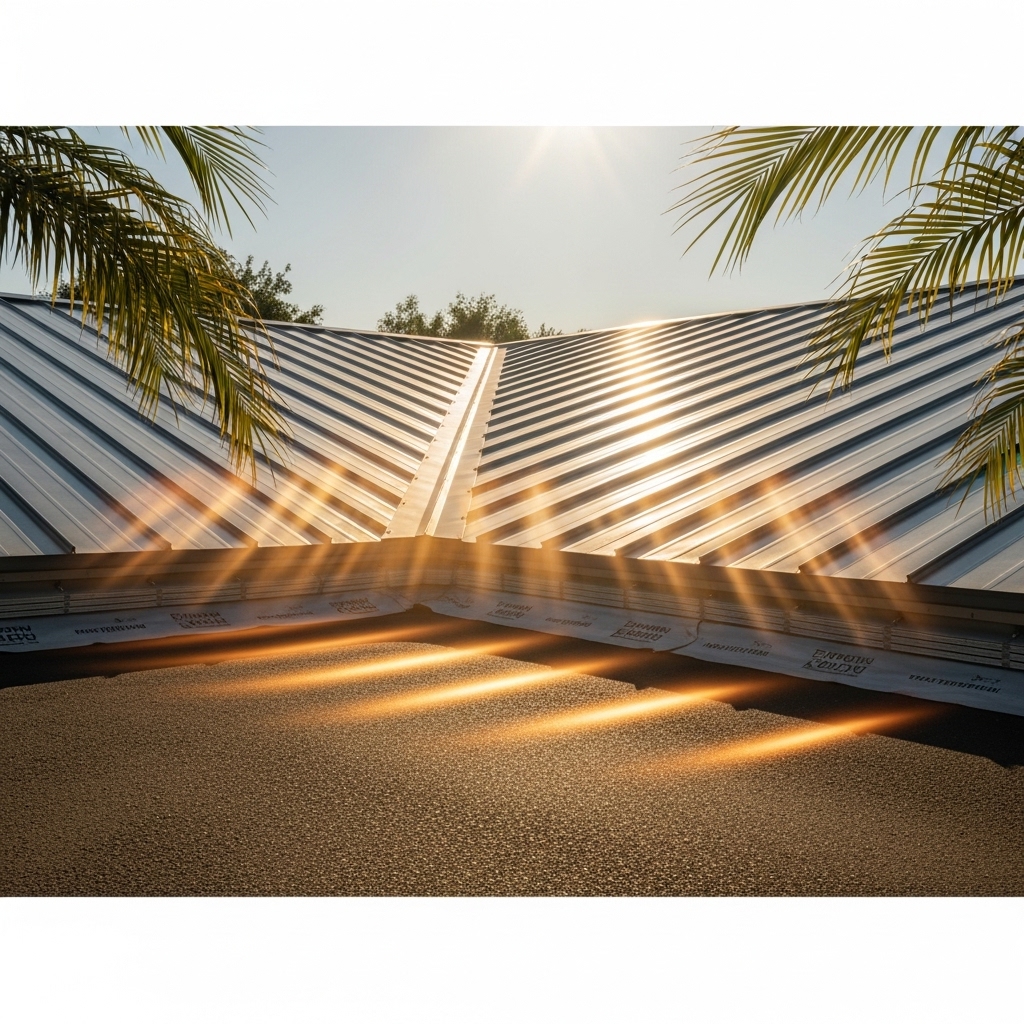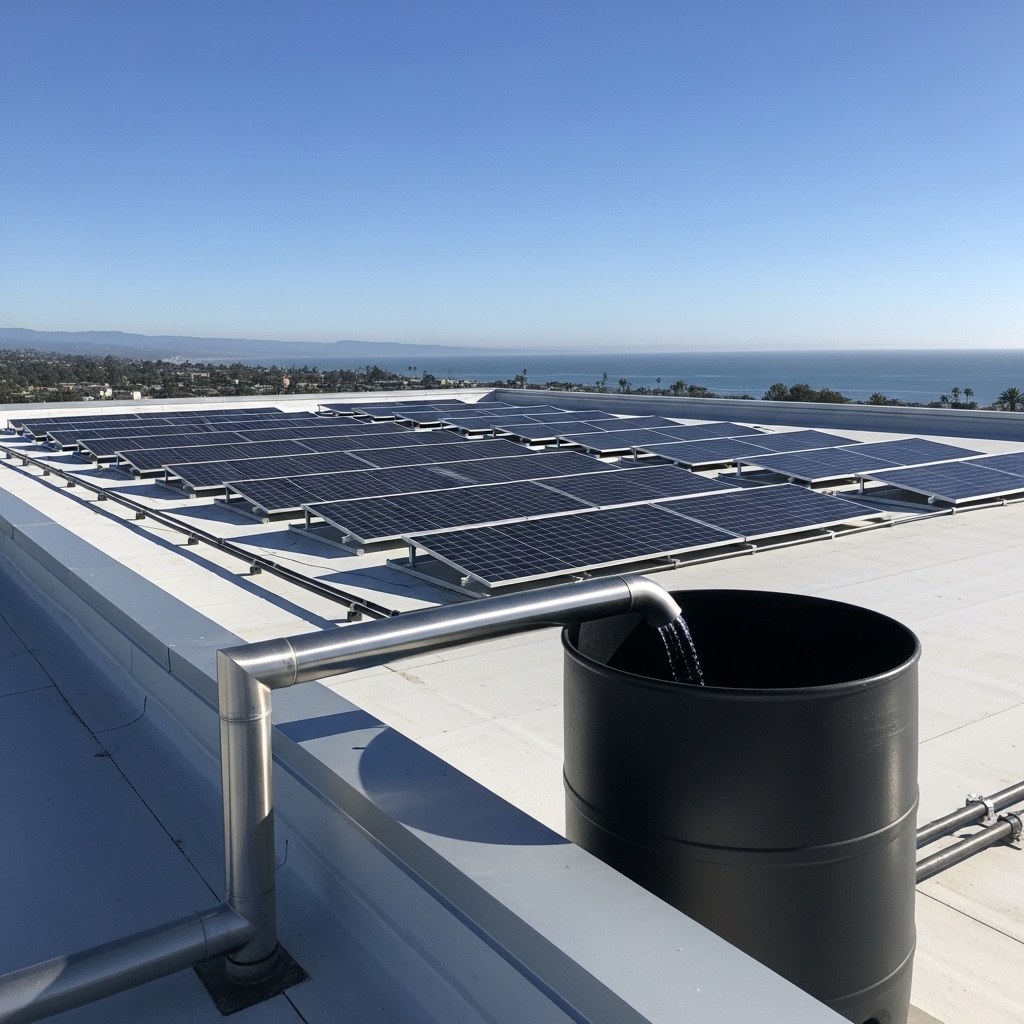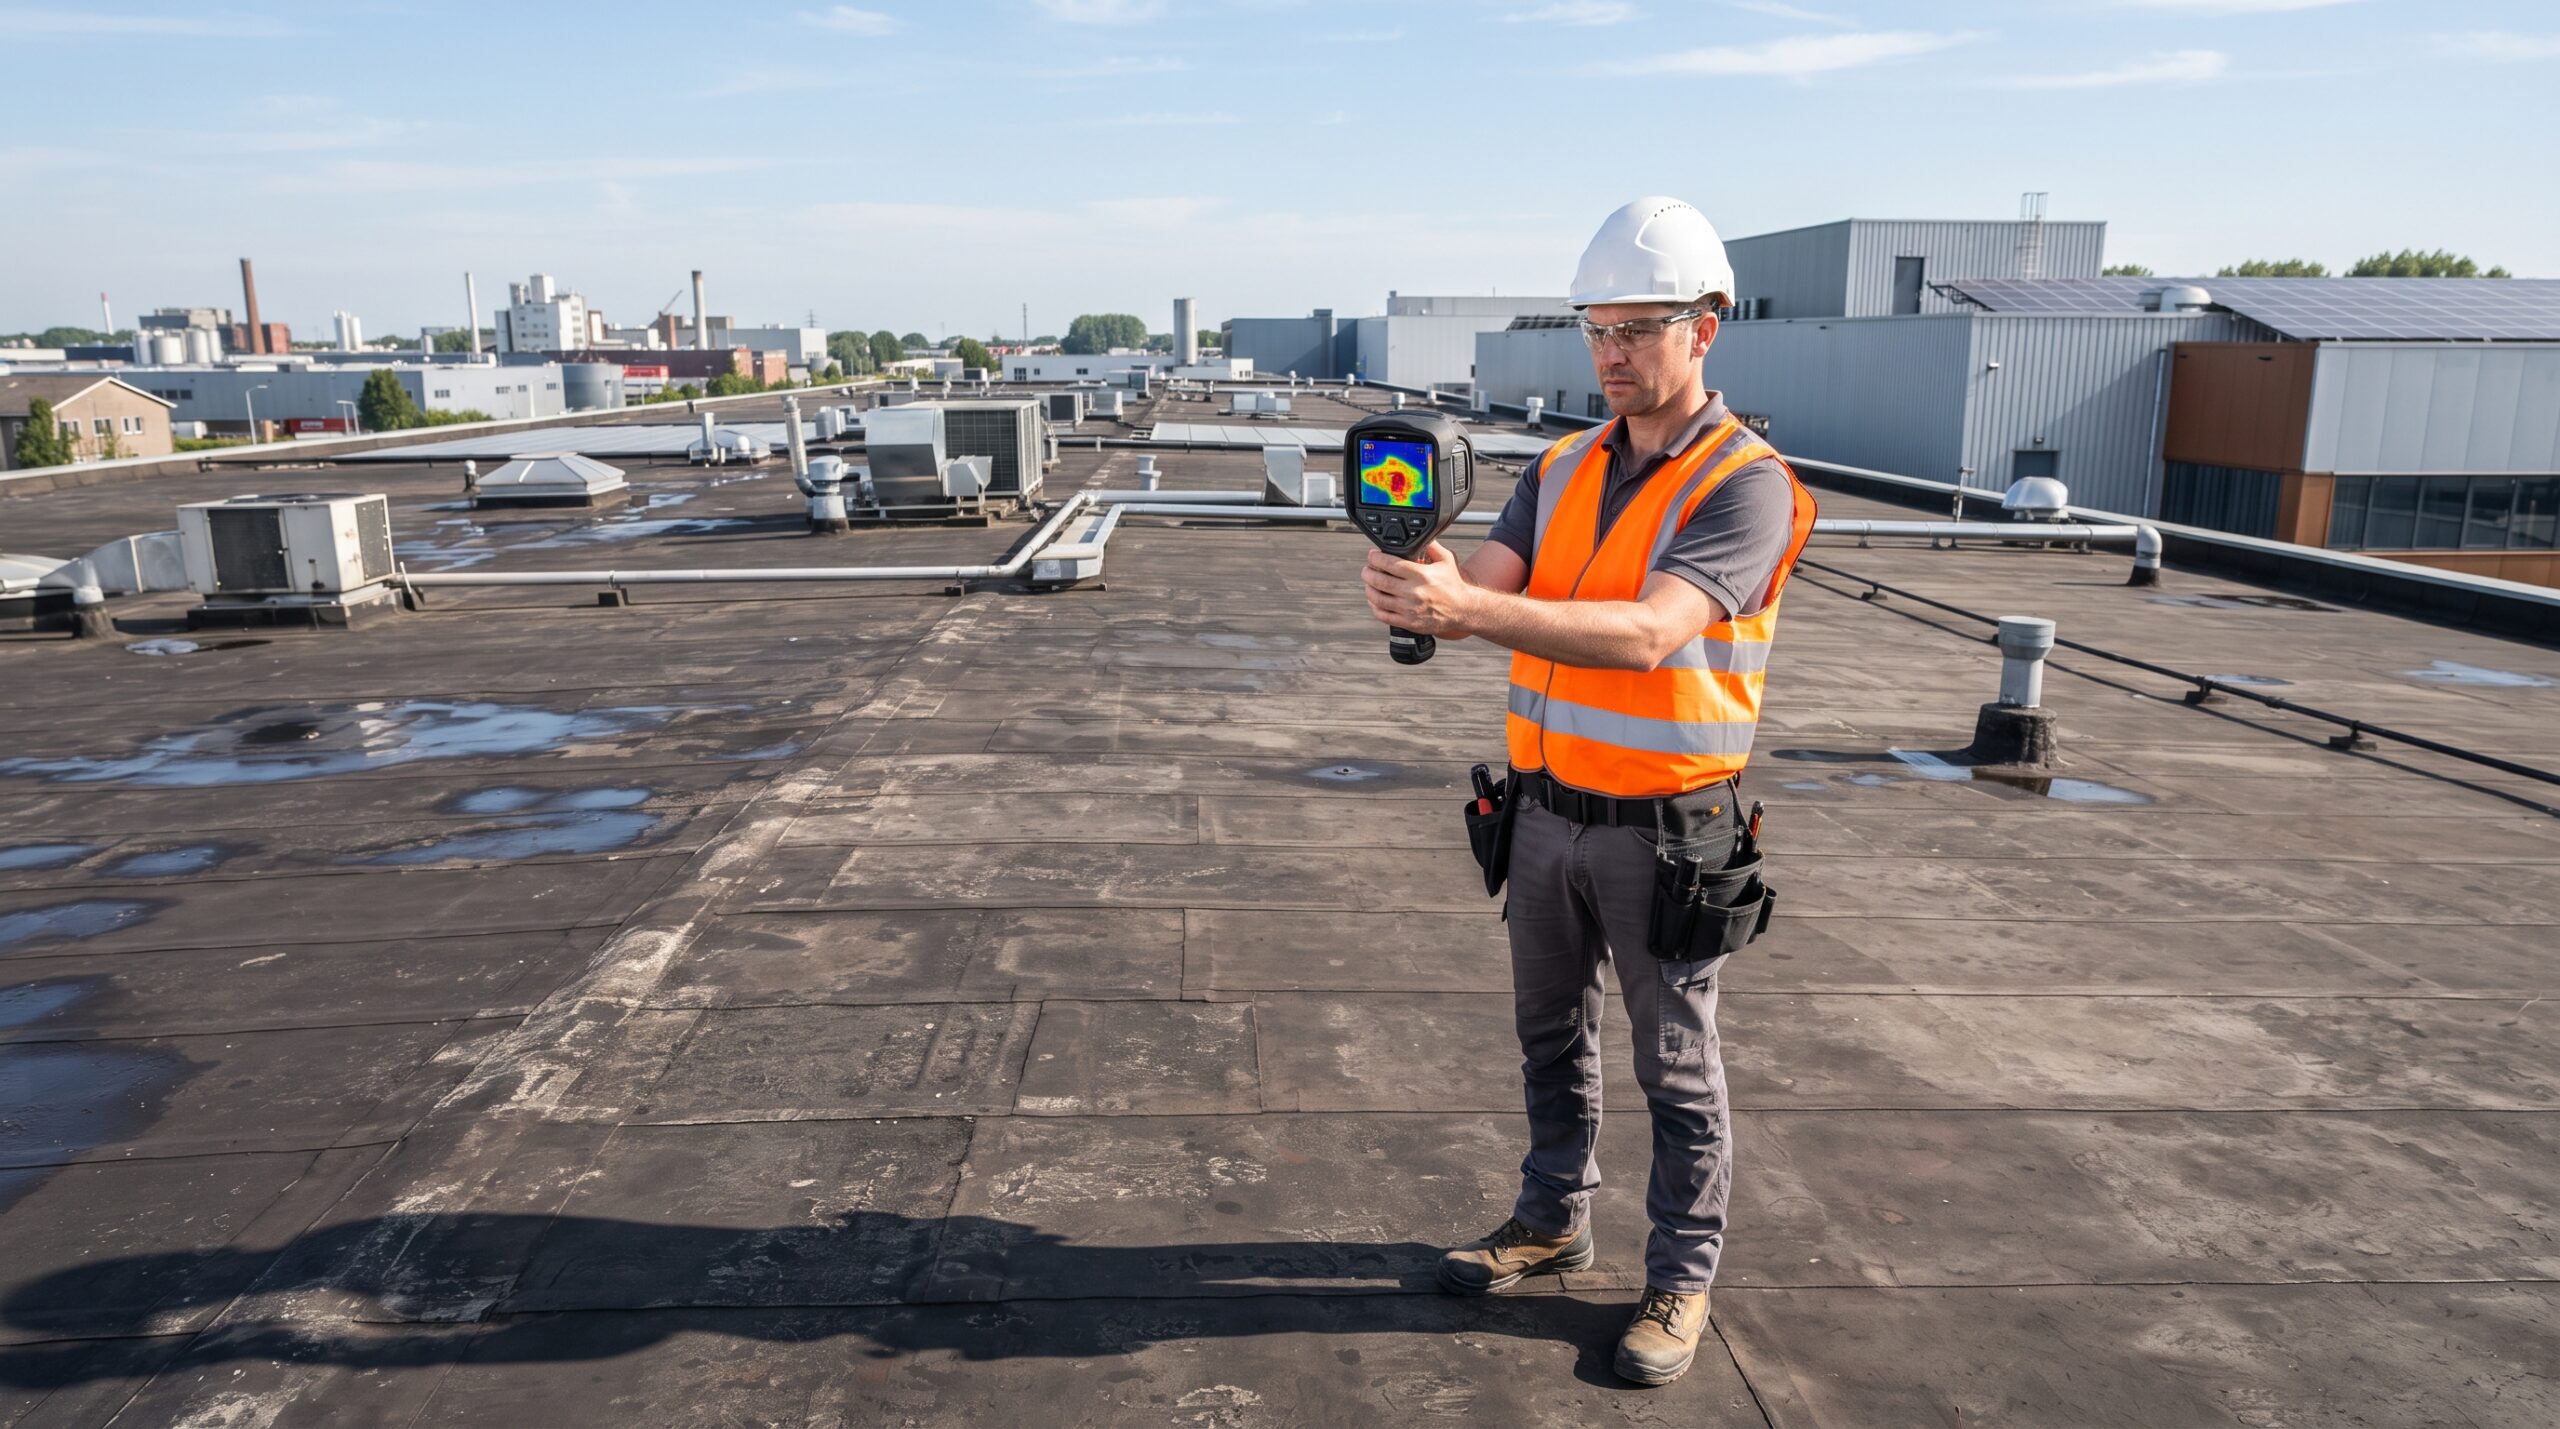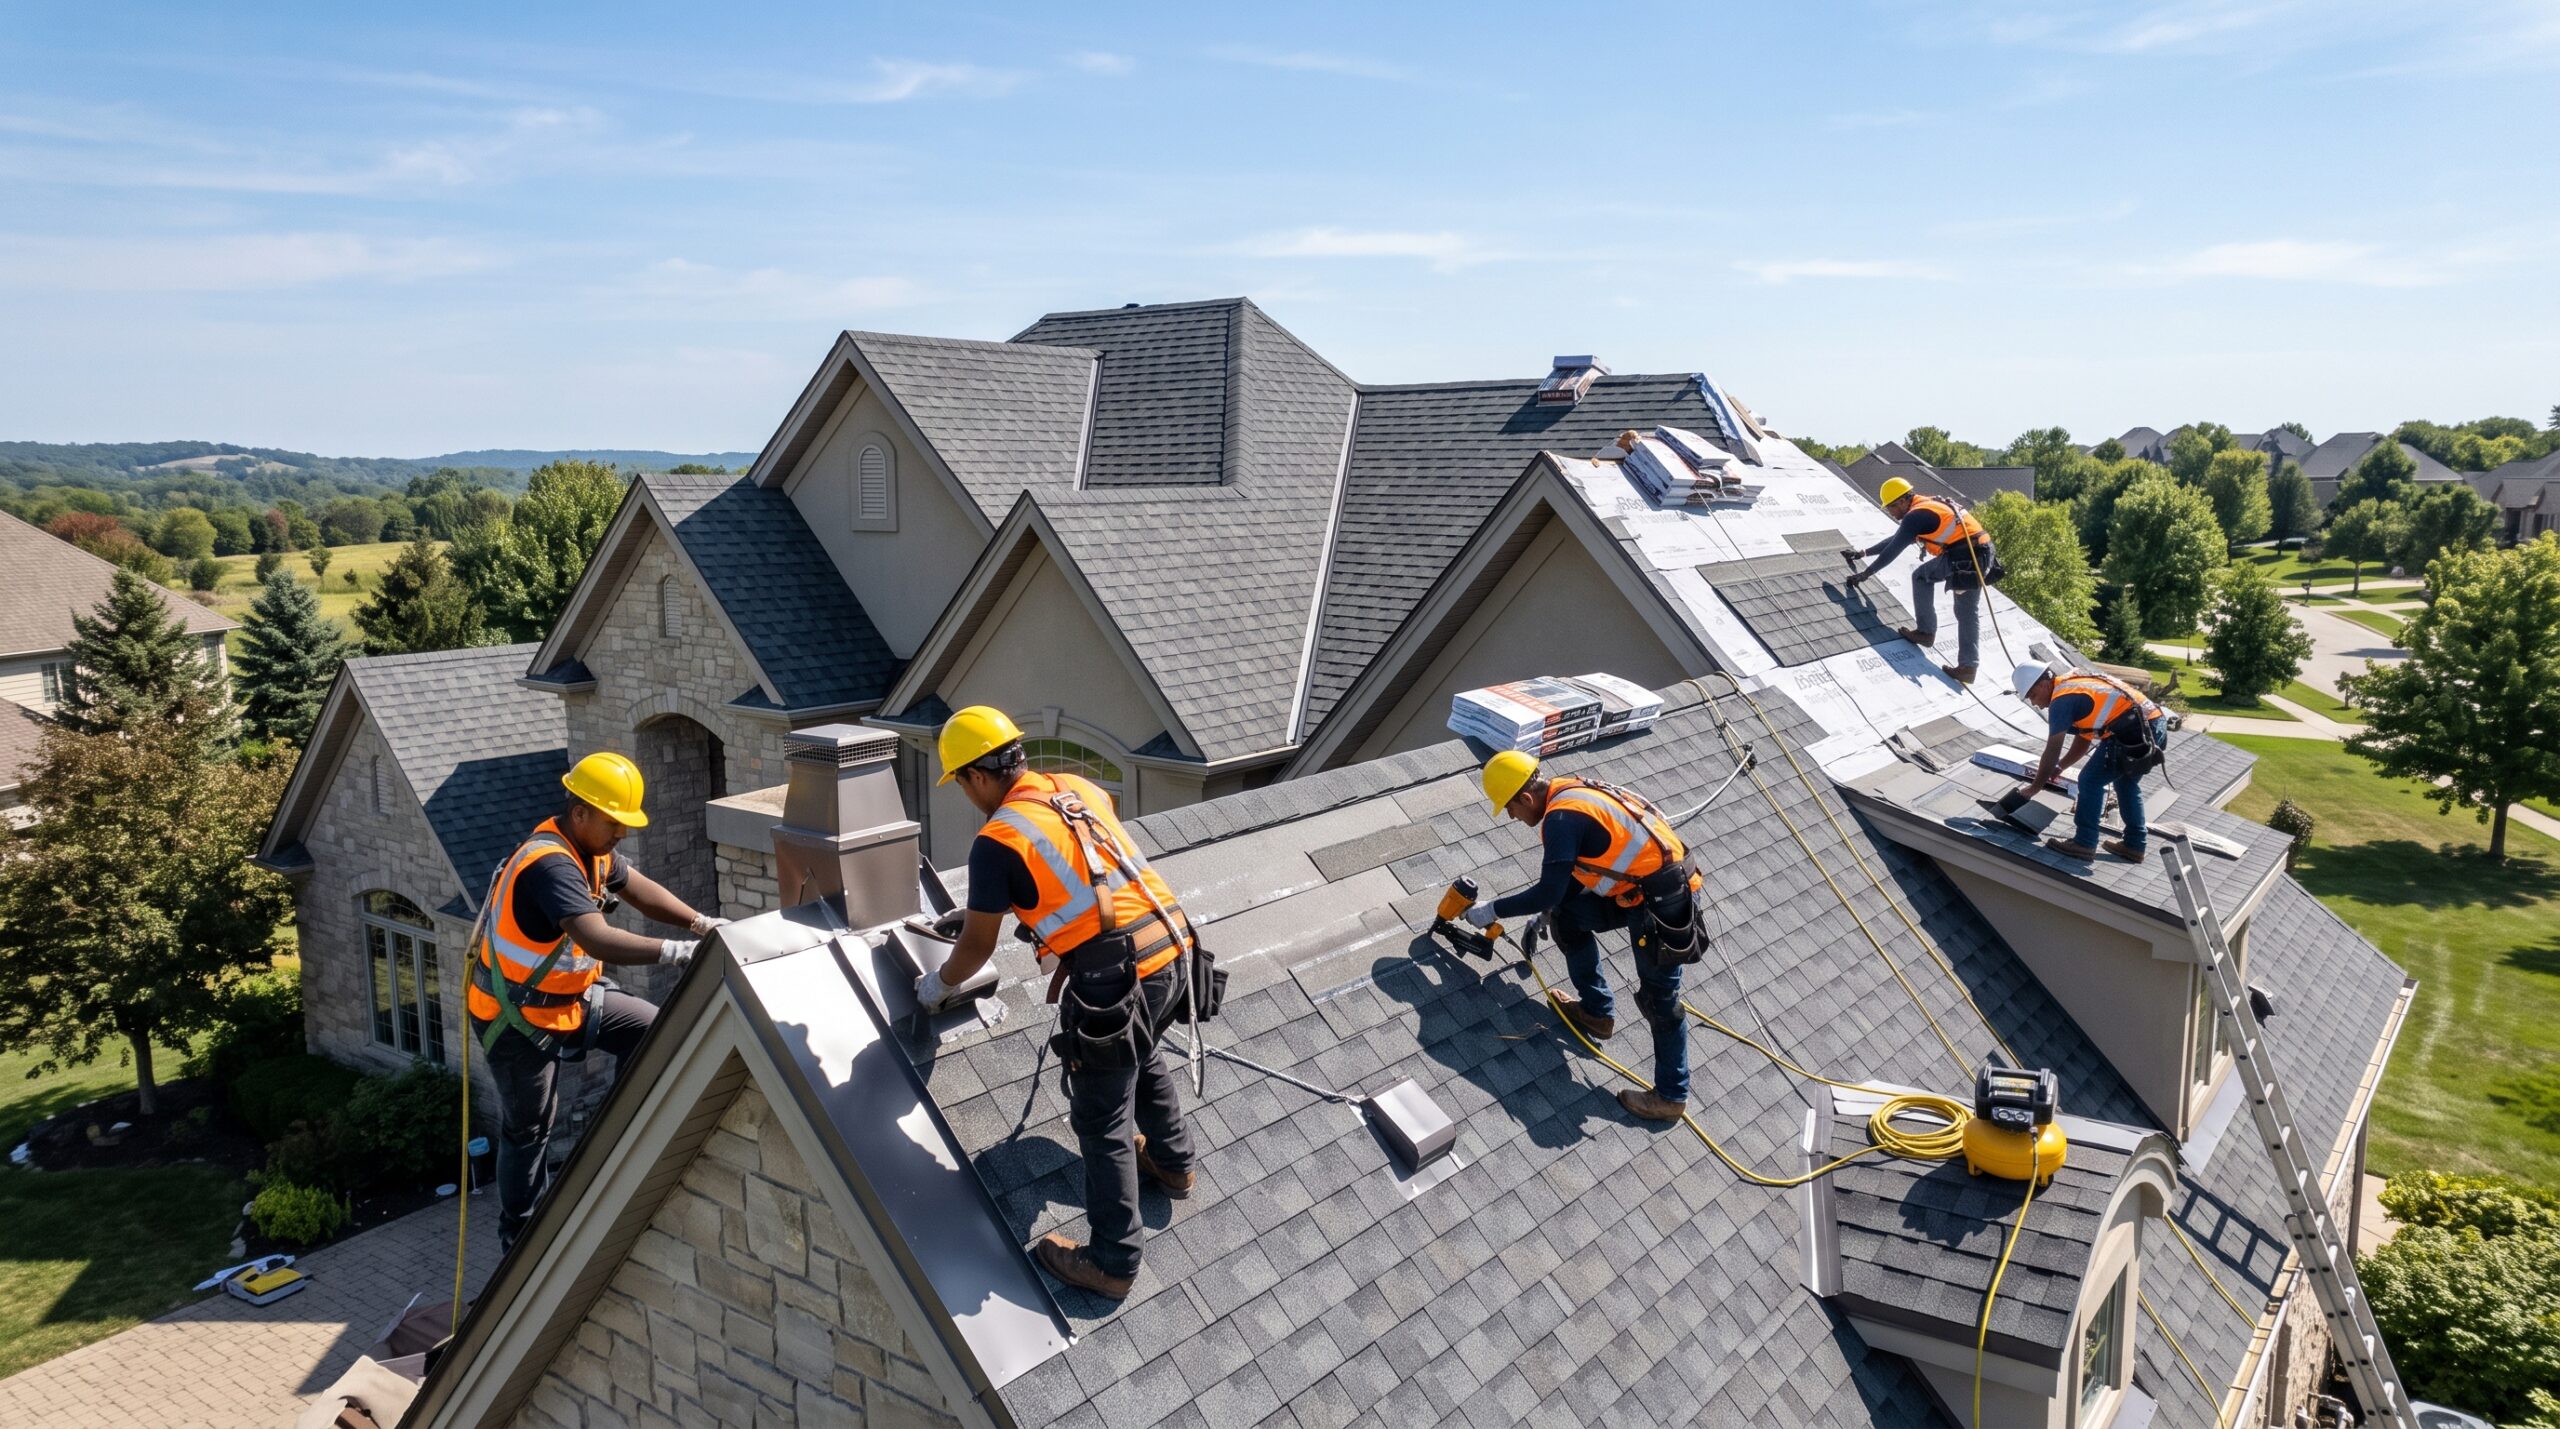
A wind-resistant roof installation uses shingles or tiles rated for the wind speed at your site, fastens every piece with the right nails in the right place, secures the edges, ridges and corners where wind lifts a roof first, and ties down flashing, vents and trim. In California most of this is written into the residential code and the manufacturers’ instructions; doing all of it is what makes a new roof stronger and the property safer in a Santa Ana or storm wind. To plan a wind-ready installation, call NEMA Roofing at 866-631-3366.
How does wind damage a roof?
Wind flowing over a roof pulls up on it, and the pull is strongest at the eaves, rakes, corners and ridge. A shingle whose edge is loose or unsealed can be lifted and folded back, and each lifted piece exposes the next. Once the covering is open, wind-driven rain reaches the underlayment and deck. The National Weather Service describes Santa Ana winds as strong, hot, dust-bearing winds that come down to the coast from the inland deserts, and they bring debris with them: the Tile Roofing Industry Alliance notes that tiles broken in a high wind are usually broken by flying debris rather than lifted off.
Which wind rating should your shingles carry?
The code requires asphalt shingles to be tested to ASTM D7158 (or ASTM D3161 for shingles outside that standard’s scope) and to carry a classification that matches the site’s ultimate design wind speed from the code’s wind map. The packaging must be labeled with the class.
| Ultimate design wind speed | ASTM D7158 class allowed | ASTM D3161 class allowed |
|---|---|---|
| Up to 116 mph | D, G or H | A, D or F |
| 129 mph | G or H | A, D or F |
| 142 to 155 mph | G or H | F |
| 168 to 194 mph | H | F |
Source: CRC Table R905.2.4.1. The D7158 figures assume a building no taller than 60 feet in exposure category B or C; tall or very exposed buildings need extra calculation. Ask your roofer which design wind speed applies at your address and check the class printed on the bundles.
How should shingles be fastened?
- Nails. Galvanized, stainless, aluminum or copper roofing nails with at least a 12-gauge shank and a 3/8-inch head, long enough to go 3/4 inch into the sheathing, or through it if the sheathing is thinner (CRC R905.2.5).
- How many. The manufacturer’s number, and never fewer than four per strip shingle or two per individual shingle (CRC R905.2.6). Many manufacturers also publish a high-wind nailing pattern with more nails; ask whether it applies to your roof.
- Where. In the maker’s nailing zone, driven flush: nails set too high miss the shingle below, and overdriven nails cut through the mat and pull out.
- Edges. Starter strips with factory sealant along the eaves and rakes, so the first course is glued down; drip edge nailed at no more than 12-inch spacing (CRC R905.2.8.5).
- Hips and ridges. Cap shingles fastened to the maker’s instructions, with nails long enough for the extra thickness.
New shingles rely on their sealant strips to bond in the sun; until they do, the nails carry the load, which is one more reason the pattern matters.
How are tile roofs secured against wind?
Where the code’s wind map requires wind design, tile attachment is calculated from the wind loads in the California Building Code (CRC R905.3.6). Elsewhere the code’s attachment table applies, with these minimums:
- On solid sheathing without battens, one fastener per tile at every slope.
- Perimeter tiles, around the roof’s edges: at least one fastener each.
- Tiles weighing less than 9 pounds per square foot installed: at least one fastener per tile, whatever the slope.
- Nails: corrosion resistant, at least 11 gauge with a 5/16-inch head, reaching 3/4 inch into the deck or through it (CRC R905.3.7).
Hip and ridge tiles are set to the tile maker’s instructions. After a wind event, have a trained roofer assess the roof; the tile industry cautions that a slightly raised tile nose does not by itself mean the whole roof fails code.
Which other parts fail first in high wind?
- Ridge vents and roof vents with too few fasteners.
- Loose metal trim, flashing held only by sealant, and gutters pulling off the fascia.
- Satellite dishes, antennas and solar racks that were fastened through the roof without proper flashing.
- The edges of flat roof sections; see flat roof wind uplift for membrane roofs, and metal roof wind resistance for panels.
What else makes a new roof safer?
- Fire. In a Fire Hazard Severity Zone or wildland-urban interface area, a replacement roof must be a Class A assembly, and the same wind that carries debris carries embers.
- Vent openings. Attic vents need screening with openings no smaller than 1/16 inch and no larger than 1/4 inch (CRC R806.1), which keeps birds, rodents and other animals out of the attic.
- A safe job. Roof work is fall-prone; the tile industry recommends leaving roof access to trained professionals and points to OSHA’s mandatory fall protection rules.
What should you check before and after the installation?
- The design wind speed for your address and the shingle class that matches it, written into the estimate.
- That the job uses the maker’s high-wind nailing pattern where it applies, with sealed starter strips at eaves and rakes.
- Photos of the nailing, starter and drip edge before they are covered.
- An inspection after a strong wind event, for lifted edges, missing caps and damaged flashing.
For how storms affect roofs along the Santa Barbara coast, read our storm and wind damage guide. NEMA Roofing works across Santa Barbara, Ventura, Los Angeles, Riverside and San Bernardino County from five locations (Santa Barbara, Oxnard, Woodland Hills, Tarzana and Downey). See our roof installation service, or call 866-631-3366.