This roofing installation guide walks homeowners step by step through a full roof replacement: estimate and product choice, permit, tear-off, deck repair, drip edge and underlayment, flashing, the roof covering, ventilation, cleanup and the final inspection. Knowing the order helps you judge an estimate, spot a skipped step and know what to ask each day of the job. NEMA Roofing has five locations (Santa Barbara, Oxnard, Tarzana, Woodland Hills and Downey) and installs roofs across all five counties it serves; for a question about yours, call NEMA Roofing at 866-631-3366.
Step 1: What should the estimate and product choice settle?
Everything later depends on this step. A useful estimate names the roof covering by manufacturer, product line and color, the underlayment, how every wall, chimney and skylight will be flashed, the ventilation plan, and how damaged roof deck will be priced if tear-off finds it. Two local rules often decide the product before looks do:
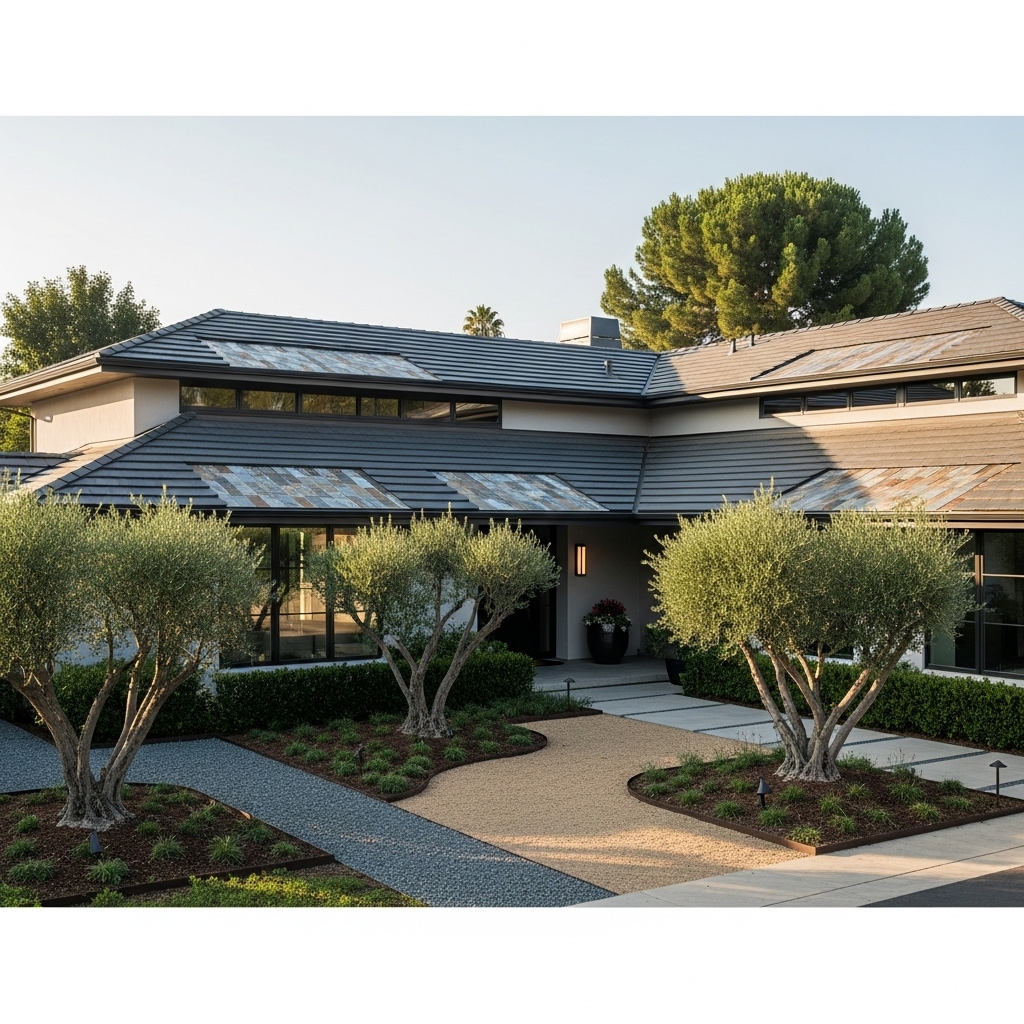
- Cool roof rules. Inland areas such as Thousand Oaks, Ojai, Woodland Hills and Tarzana are in California climate zone 9, where replacing more than half of a steep-slope roof triggers the state’s cool-roof values (aged solar reflectance and thermal emittance), unless an allowed exception applies. Coastal Santa Barbara, Goleta, Ventura and Oxnard are in zone 6, where that steep-slope trigger does not apply.
- Fire hazard zones. On a lot inside a Fire Hazard Severity Zone or wildland-urban interface area, a replaced roof covering must meet the Class A fire rating that new construction needs.
Also check the contractor’s license on the Contractors State License Board site. NEMA Roofing’s is CSLB license #1083283.
Step 2: Who pulls the permit, and when?
A reroof needs a building permit from whoever has jurisdiction: the city for homes inside city limits (in Tarzana, Woodland Hills and Encino, the Los Angeles Department of Building and Safety) or the county for unincorporated areas. The contractor normally pulls it before materials arrive. Ask to see it; the permit is also how the cool-roof and fire-rating rules get checked.
Step 3: What happens during tear-off?
The crew protects landscaping, windows and the driveway, then strips the old covering and underlayment down to the roof deck, usually one section at a time so the house is never left open to weather overnight. Old nails are pulled or driven flush so nothing lifts the new layers. This is the step with the most debris, so ask where the dumpster will sit and how gutters and plants will be covered.
Step 4: Why does the roof deck get inspected before anything goes on?
Once the deck is bare, soft, delaminated or rotted boards become visible, often around old leaks, valleys and roof edges. Damaged sheathing is cut out and replaced so fasteners hold. This is the one place a fair estimate cannot give a fixed total in advance, which is why it should state a unit price for replaced deck. Some building departments inspect the deck at this point; ask whether yours does.
Step 5: How do drip edge and underlayment protect the roof?
Metal drip edge goes along the eaves and rakes so water drops clear of the fascia. Then underlayment covers the whole deck as a second water barrier beneath the roof covering. Extra-strength membrane is typically added in valleys and around penetrations, where water concentrates. The type and brand of underlayment should match what the roofing manufacturer lists for its system, because many system warranties depend on using the specified components.
Step 6: Where does flashing go?
Flashing is the metal and membrane detailing wherever the roof meets something else: walls, chimneys, skylights, vents and valleys. These joints are where water finds its way in when the detailing is wrong, which is why they get the most attention. Step flashing along sidewalls, counterflashing on chimneys and new boots or jacks on plumbing vents are standard on a full replacement. Reusing old, rusted flashing to save time is a shortcut worth asking about.
Step 7: How is the roof covering installed?
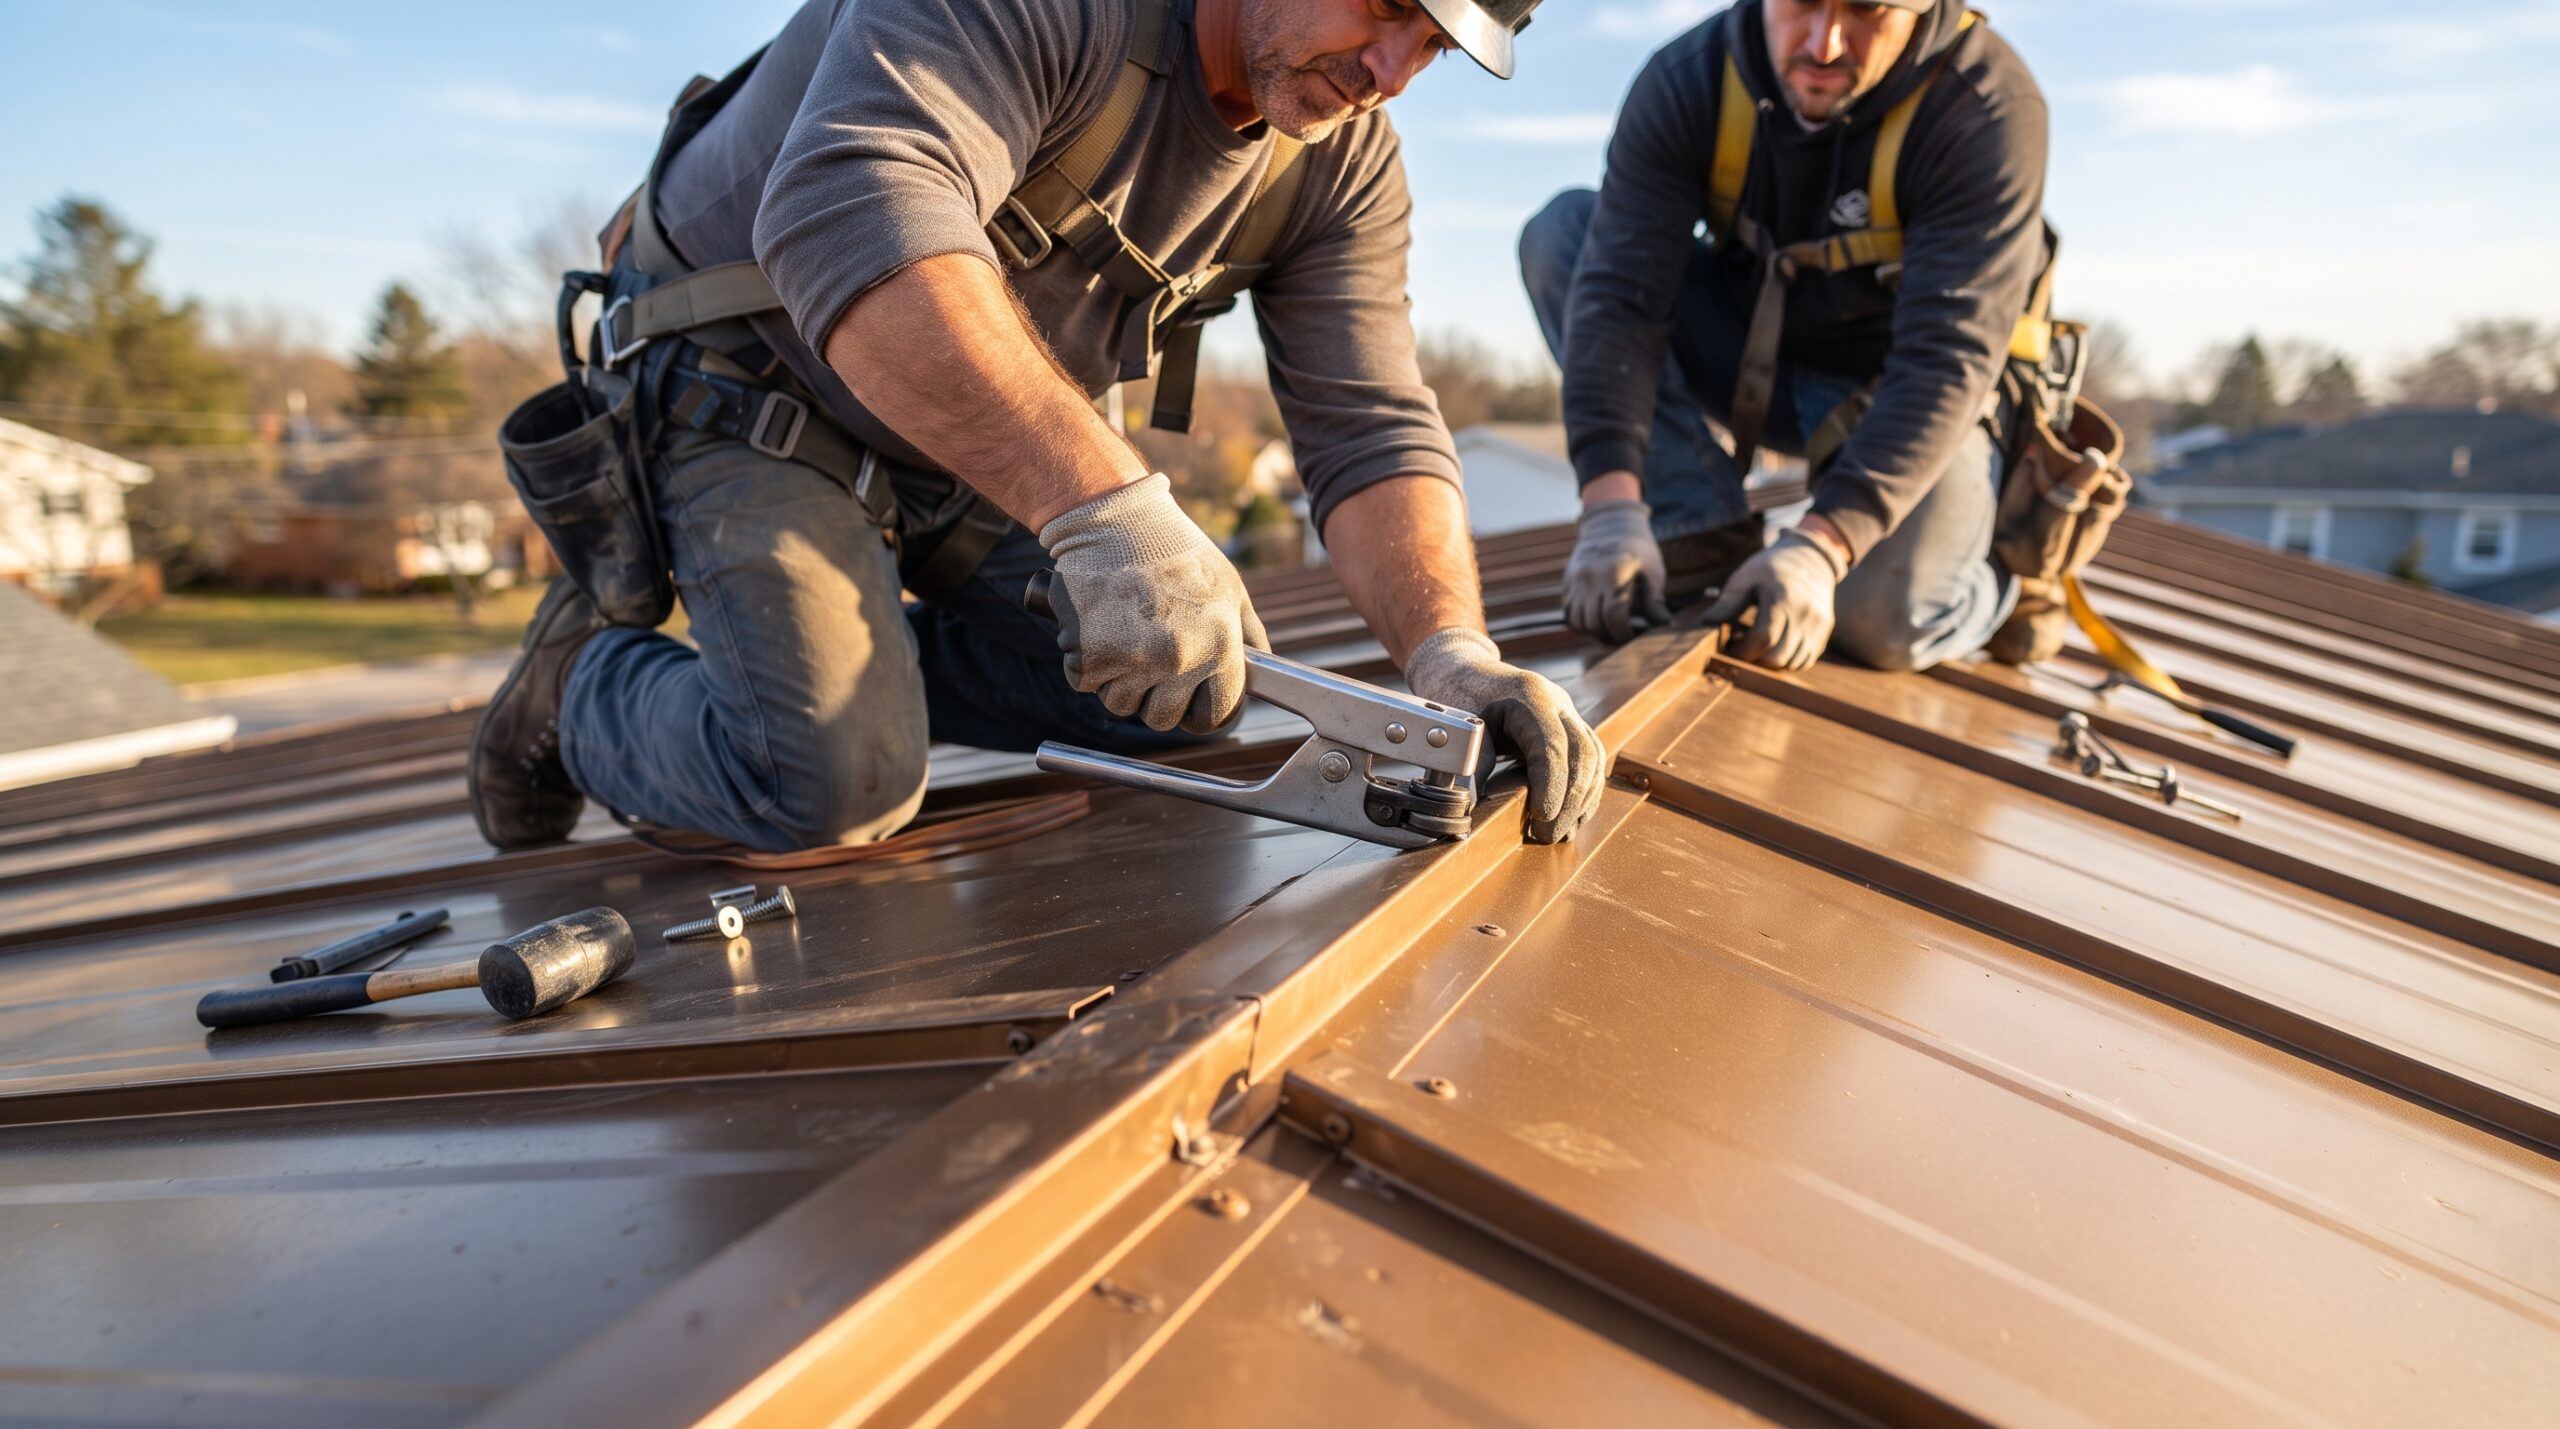
The covering goes on from the eaves up, following the manufacturer’s written installation instructions for exposure, nailing pattern and fastener type. The details differ by material:
| Covering | What changes in installation |
|---|---|
| Asphalt shingles | Starter strip at the eaves, specified nail count and placement per shingle, hip and ridge caps |
| Clay or concrete tile | Battens or direct-nail systems, weight on the structure, careful cutting at hips and valleys |
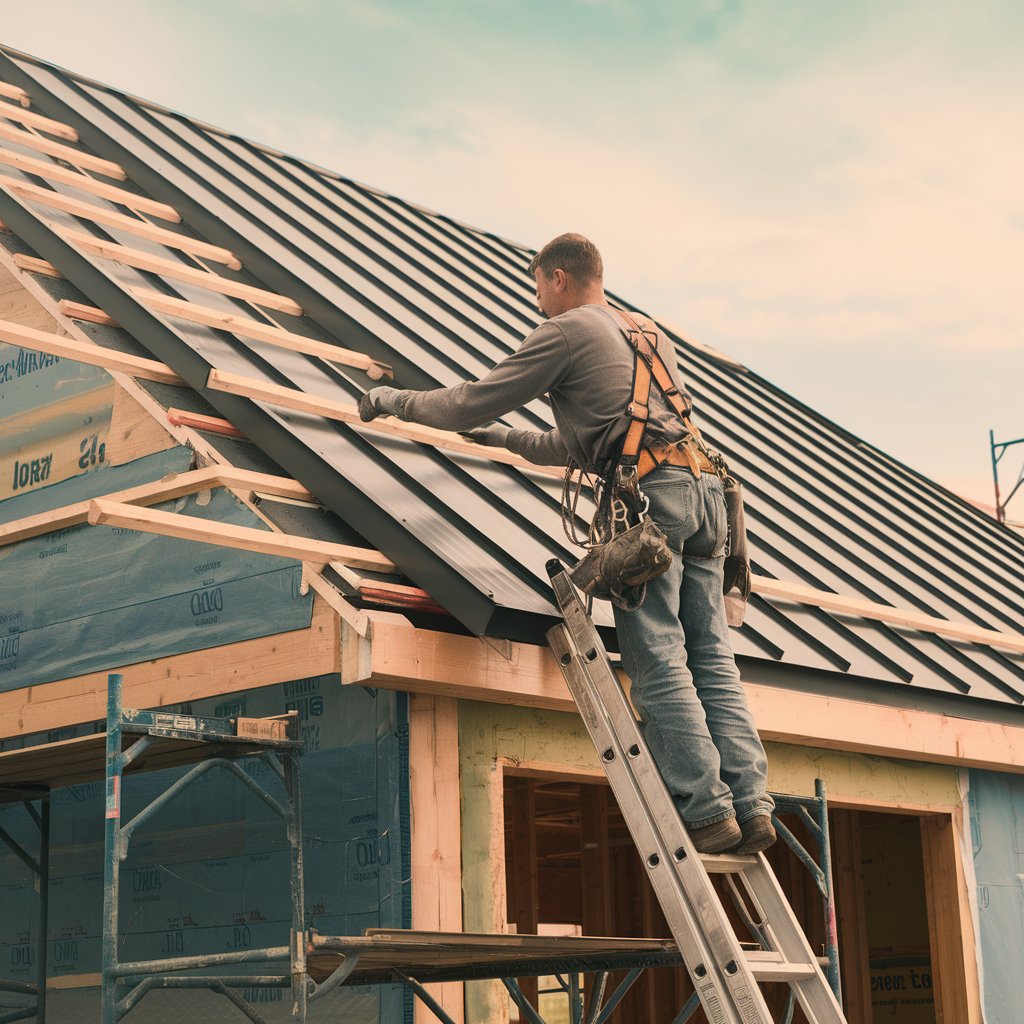
| Metal (standing seam) | Panels fastened with concealed clips, trim and closures sealed at edges and ridge |
| Low-slope sections | A membrane system (TPO, PVC or modified bitumen) instead of shingles, with its own seams and edge details |
Following those instructions matters for more than looks. As a GAF Master Elite contractor, NEMA can register every GAF enhanced warranty, and as an Owens Corning Preferred Contractor, NEMA can register the Owens Corning Preferred Protection warranty, which includes workmanship coverage; such warranties assume the manufacturer’s installation method was used.
Step 8: Why does ventilation belong in the install?
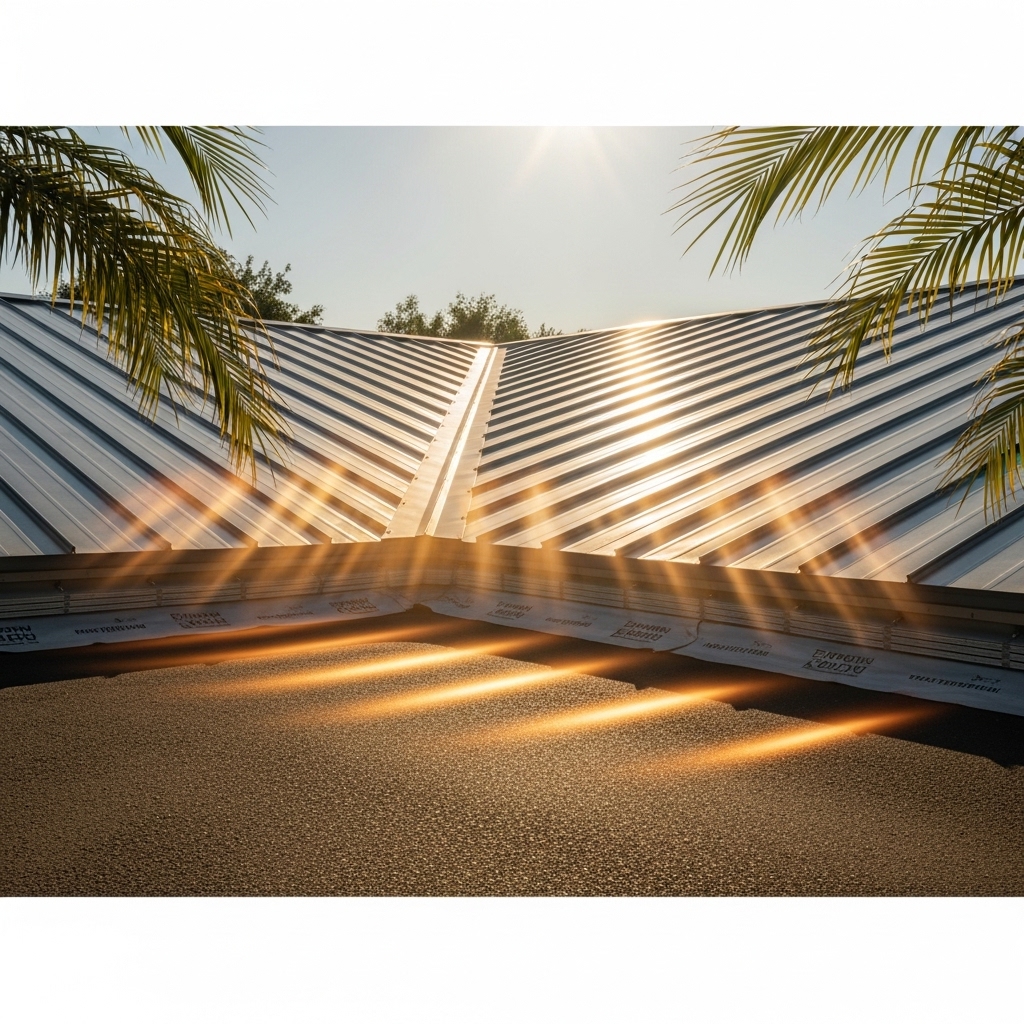
Attic intake at the eaves and exhaust at or near the ridge let heat and moisture leave the attic. A replacement is the easiest time to correct a poorly vented attic, because the ridge is open and the eaves are exposed. In hot inland valleys a balanced system also takes some heat load off the roof covering.
Step 9: What does cleanup and final inspection look like?
Expect a magnetic sweep of the yard and driveway for nails, gutters cleared of debris and a walk-around with you. Then the building inspector signs off the permit. Keep the paperwork together: the permit card, the product names and colors, any cool-roof rating label, and the warranty registration. You will want them for insurance, resale and any future claim.
What should you check yourself before the final payment?
- The permit shows a passed final inspection.
- Flashing is new at walls, chimneys and vents, as the estimate said.
- Shingle or tile lines look straight from the street, with no lifted edges.
- Gutters are clear and no nails or scraps are left in the yard.
- You have the warranty paperwork or registration confirmation.
For how the finished roof should be looked after, see the roofing installation checklist for a durable roof and why annual roof inspections matter. If you are weighing repair against a full replacement first, read roof repair vs. full replacement. Our roof installation service page covers the materials we install, and our service areas list the cities we cover in Santa Barbara, Ventura, Los Angeles, Riverside and San Bernardino counties. To schedule an estimate, call NEMA Roofing at 866-631-3366.