Installing a flat roof is a structured process that requires precision, proper materials, and professional execution. When done correctly, it results in a durable, weather-resistant system that protects your property for years. Choosing expert Flat Roofing ensures each stage—from preparation to final inspection—is handled with attention to detail for long-term performance. Understanding the installation process helps property owners know what to expect and why each step matters for durability and waterproofing.
Step 1: Roof Inspection and Preparation
Every successful installation begins with a detailed inspection of the existing roof structure. Contractors check for damage, weak areas, and proper structural support. If an old roofing system is being replaced, it is removed completely before installation begins. Proper preparation ensures the surface is clean, stable, and ready for new materials. This step is essential for achieving strong adhesion and long-term performance.
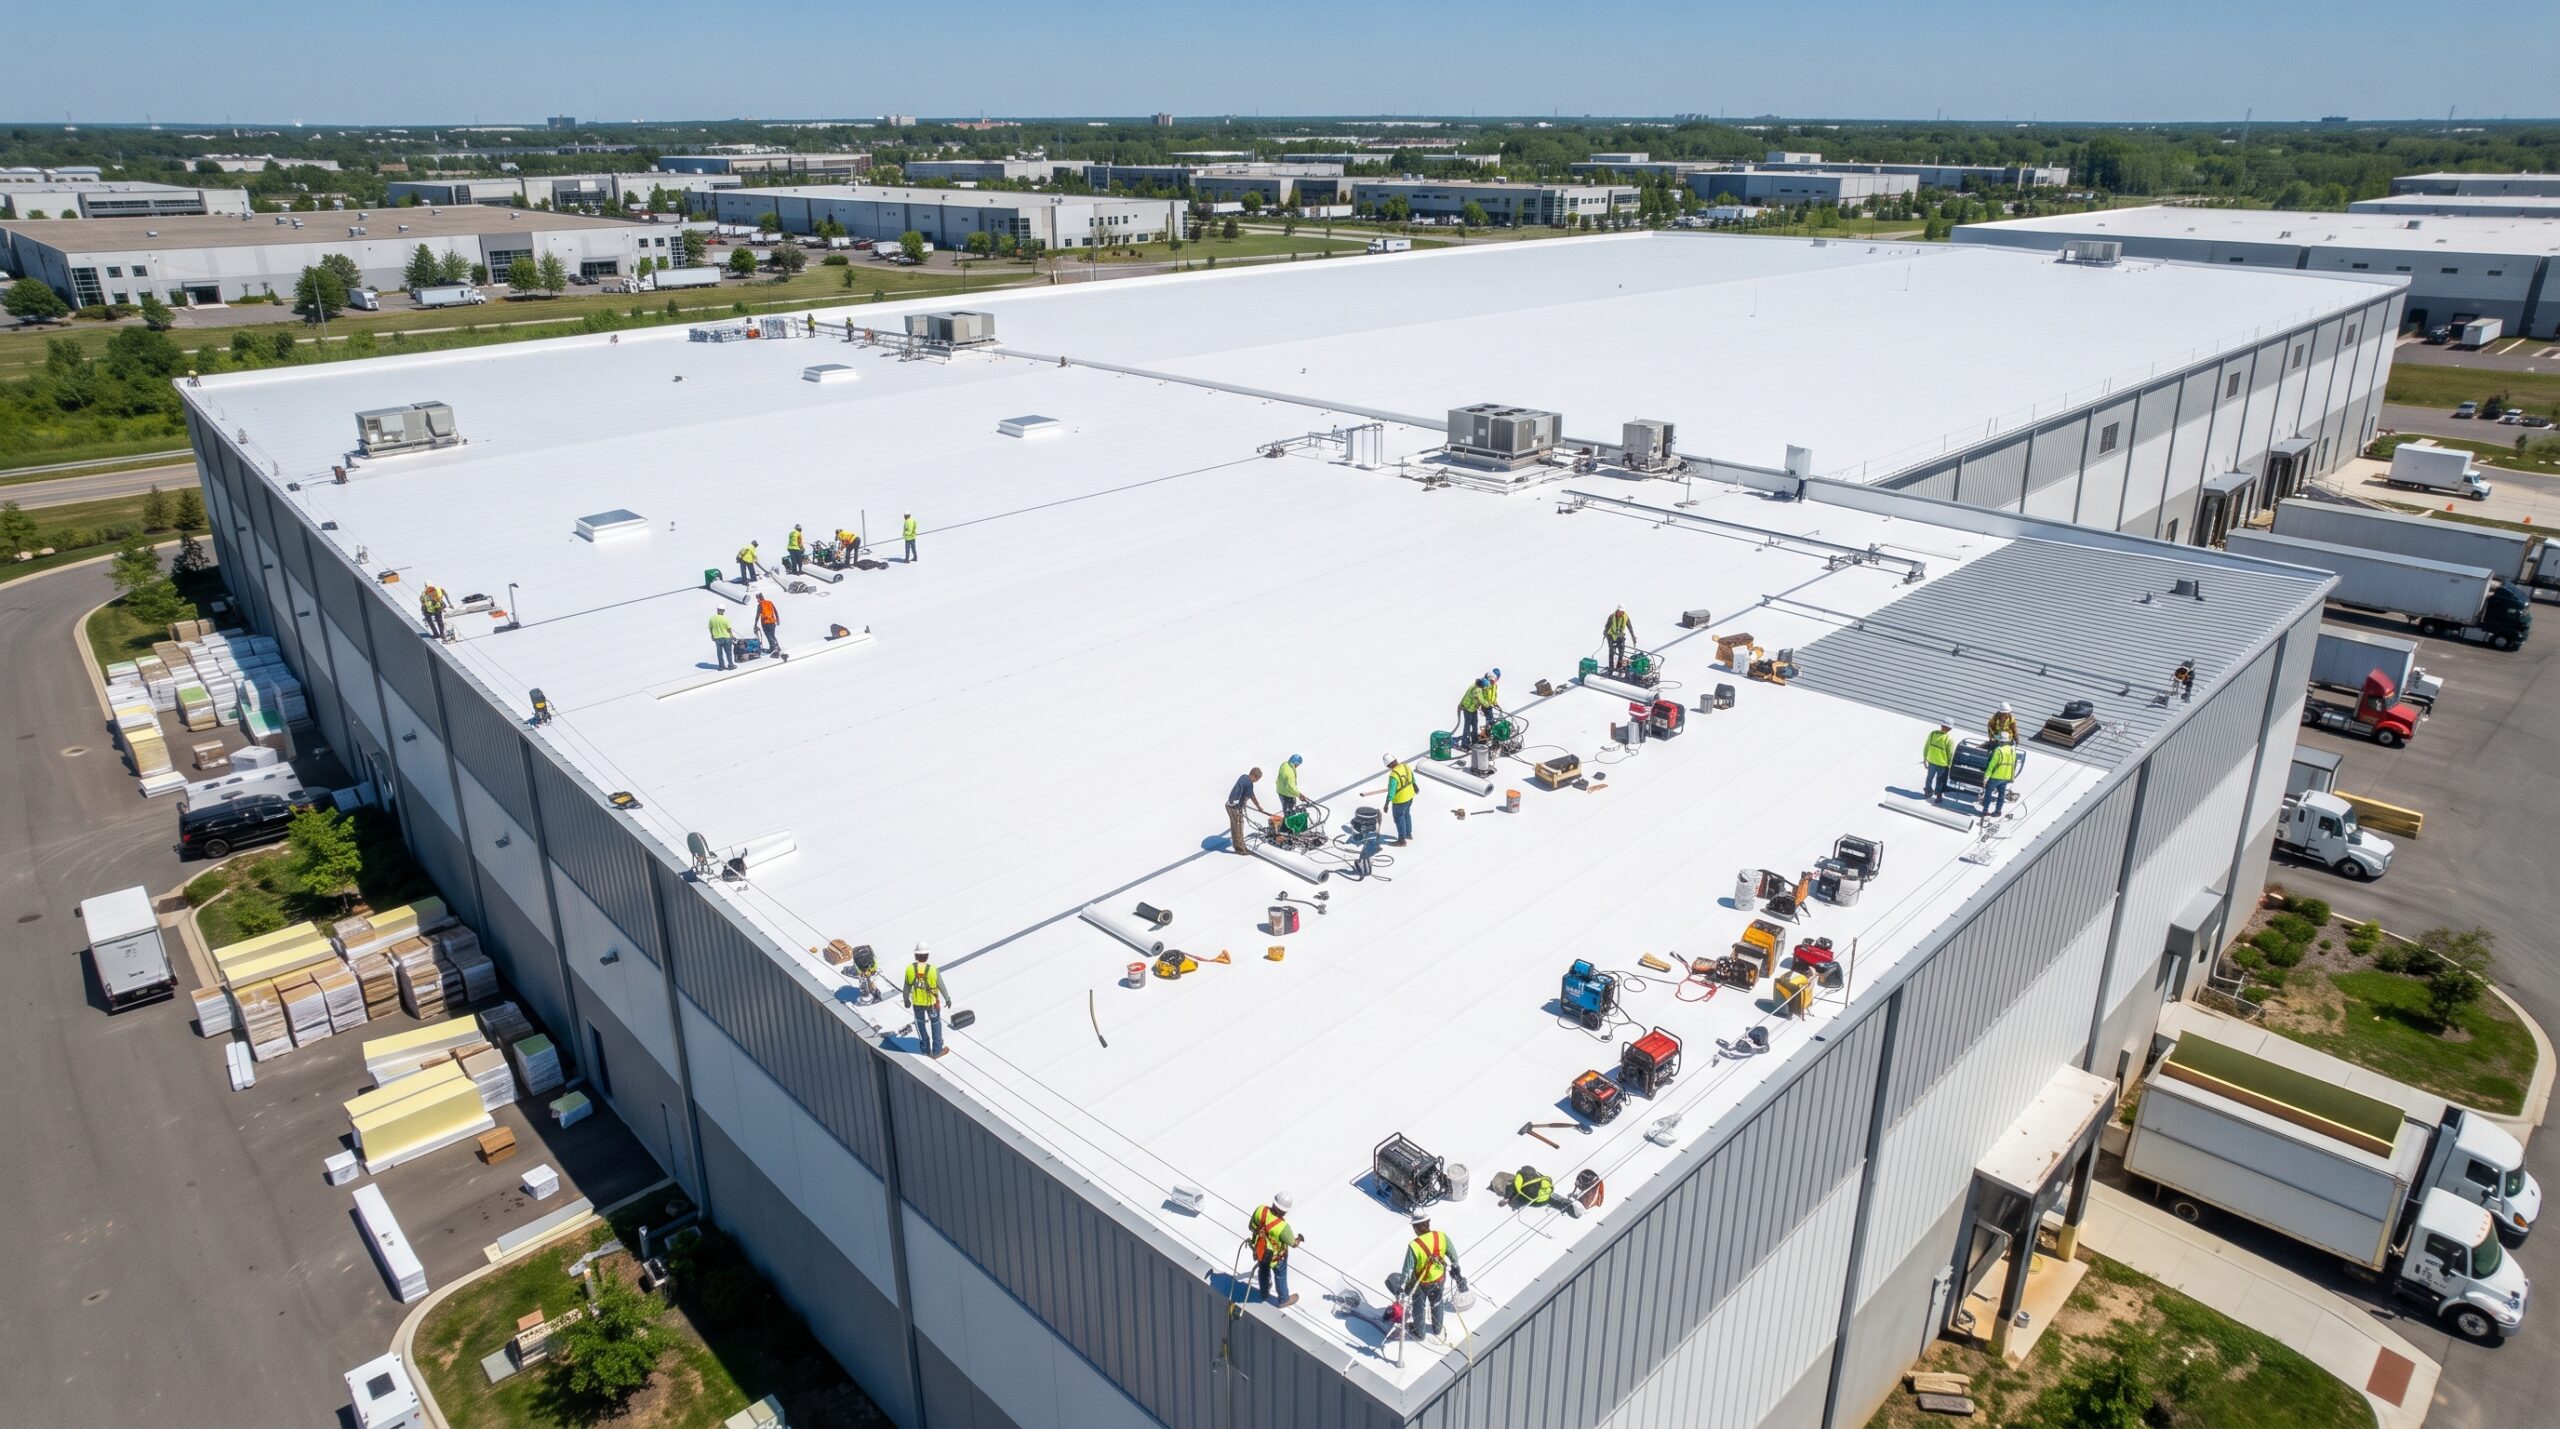
Step 2: Installing Insulation and Base Layers
Once the surface is prepared, insulation layers are installed to improve energy efficiency and regulate indoor temperatures. These layers help reduce heat transfer and improve overall building comfort. A base layer is then added to create a solid foundation for the waterproofing system. Professional Flat Roofing installation ensures these layers are properly aligned and securely fitted.
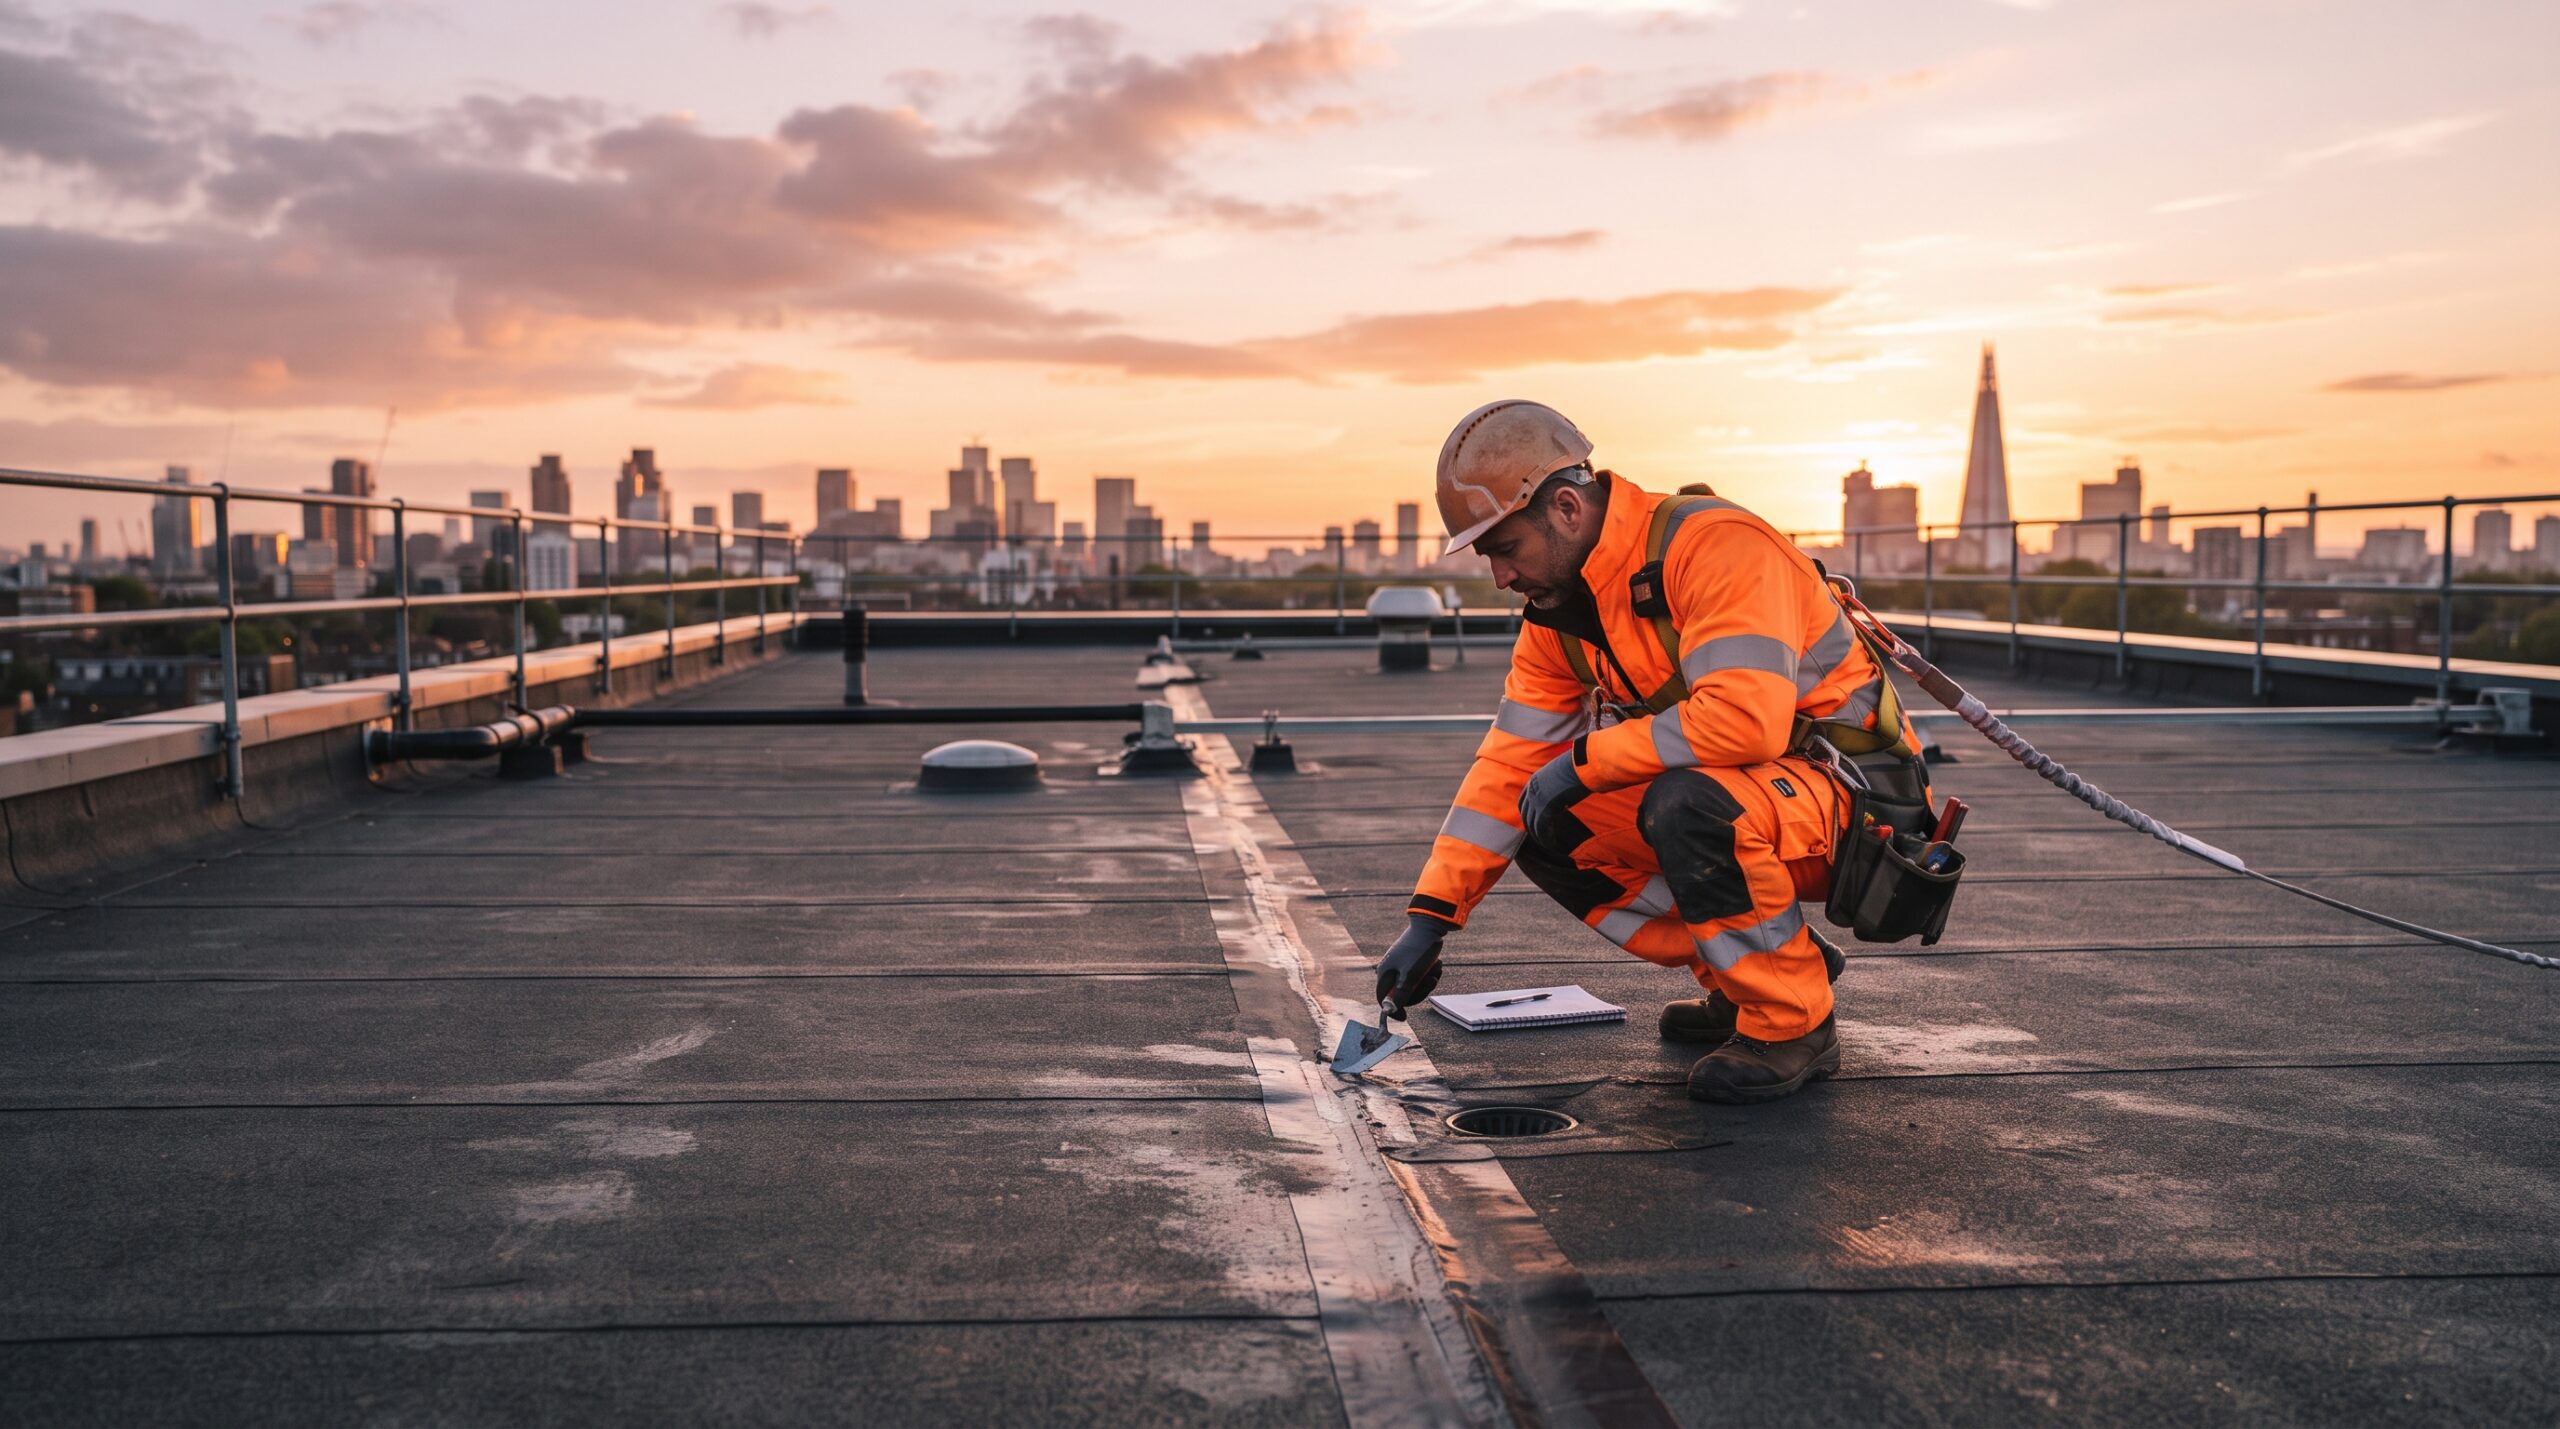
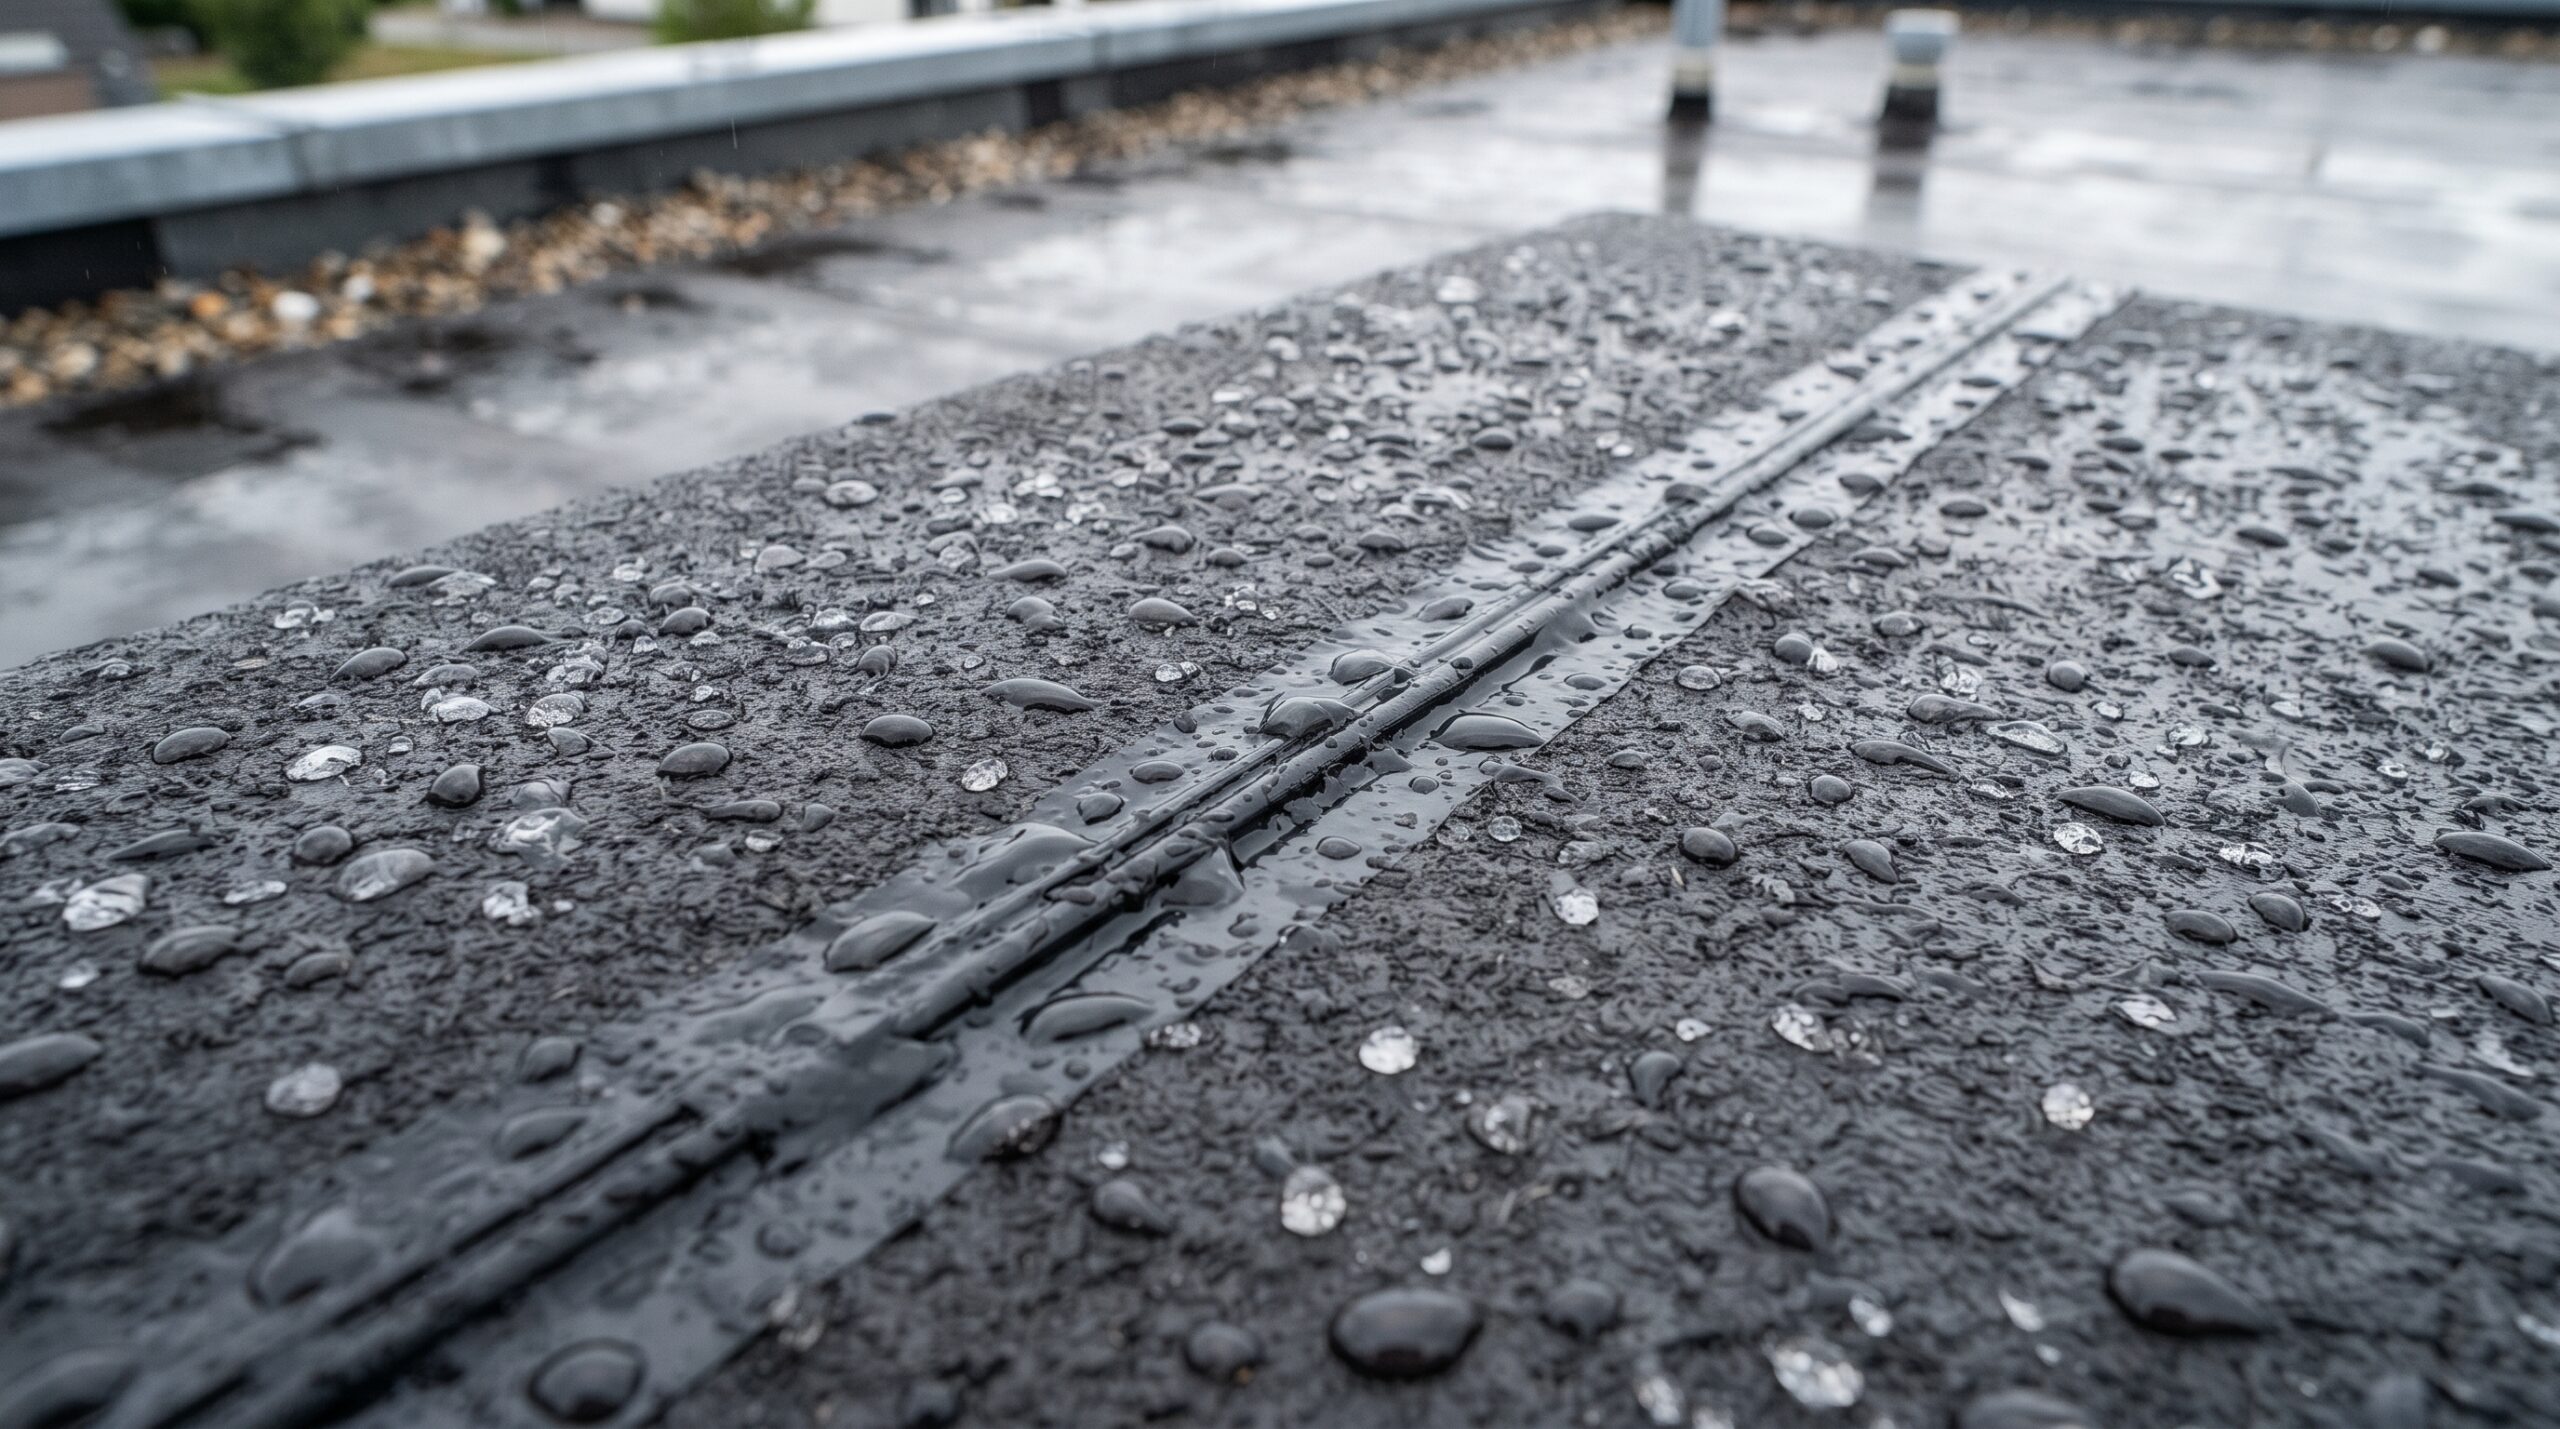
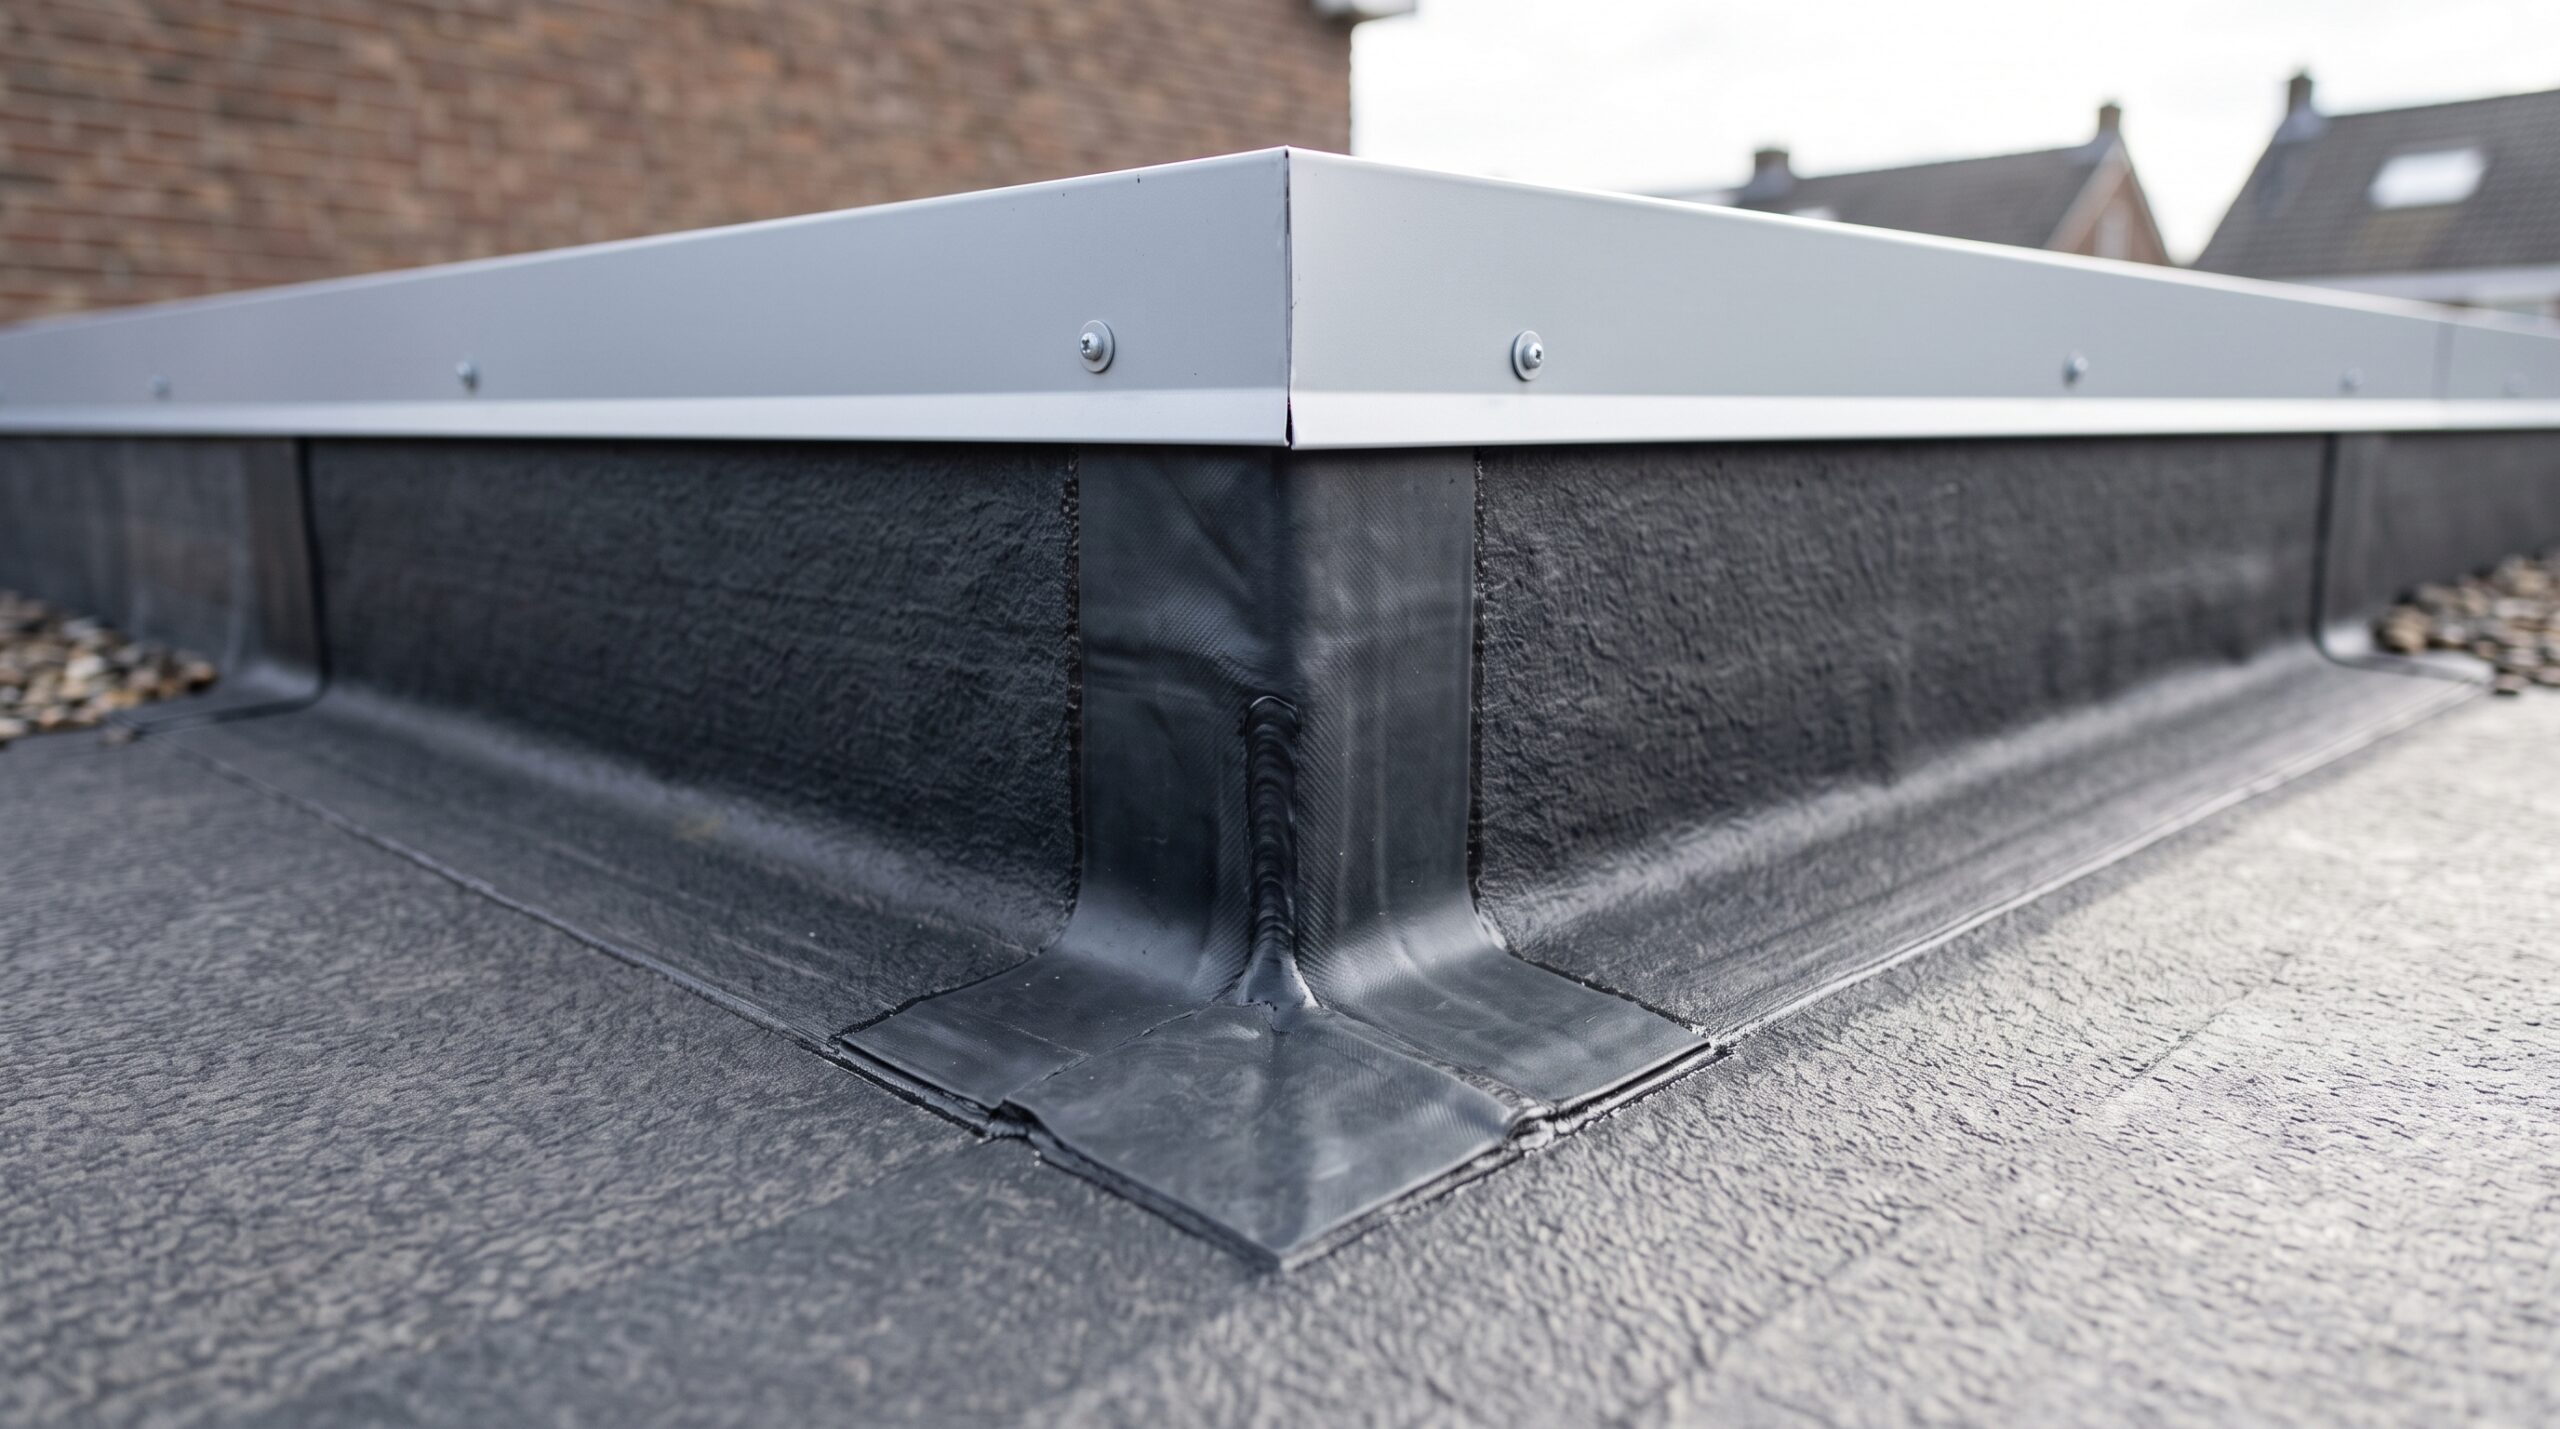
Step 3: Waterproof Membrane Application
The waterproof membrane is one of the most important components of a flat roof. It acts as the primary barrier against rain, moisture, and environmental exposure. This layer is carefully installed to ensure full coverage and eliminate weak points. Proper sealing at seams and edges is critical to preventing future leaks and water damage.
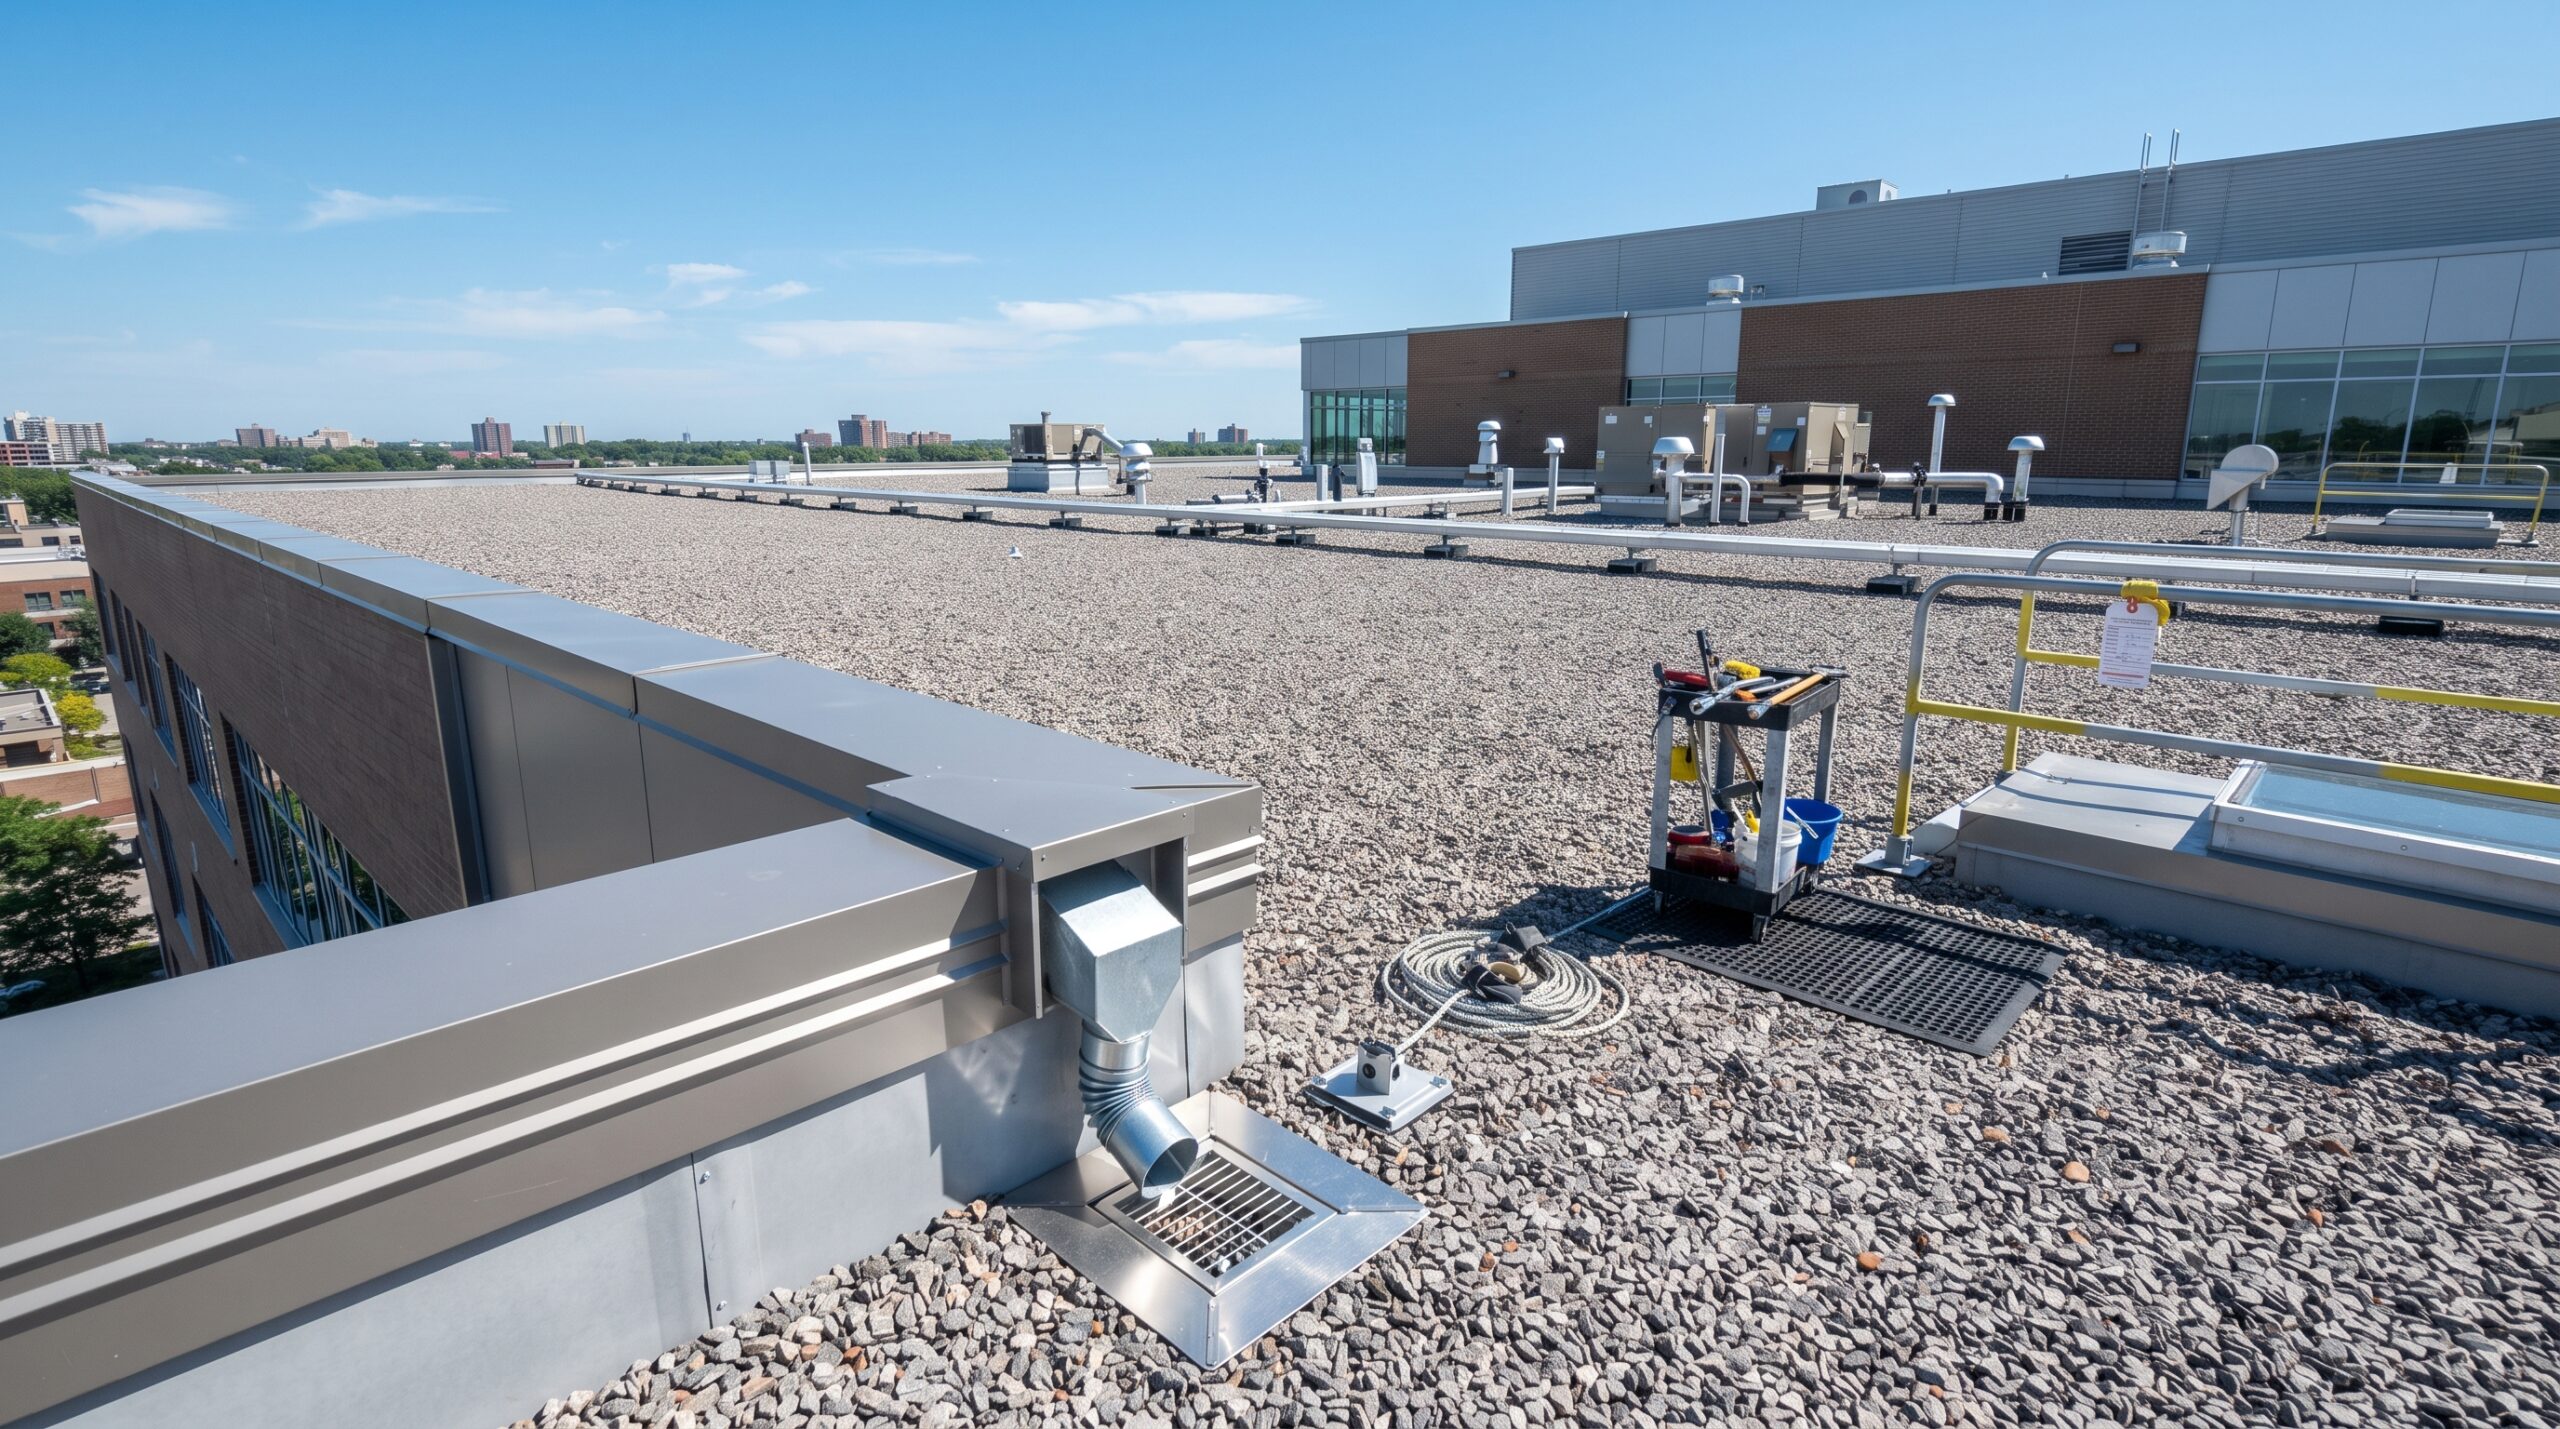
Step 4: Drainage System Setup
Flat roofs rely on effective drainage systems to prevent water pooling. During installation, slopes and drainage outlets are carefully designed to direct water away from the surface. Correct drainage design is essential for long-term durability and helps protect the roofing system from unnecessary stress.
Step 5: Final Inspection and Quality Check
After installation is complete, a full inspection is performed to ensure all components are properly installed and sealed. This includes checking membranes, edges, drainage points, and overall structural integrity. A professional Flat Roofing system should be fully tested for performance before the project is considered complete.
Maintaining Your New Flat Roof
Once installed, regular maintenance helps extend the lifespan of your roof. Inspections should be scheduled to identify minor issues early and keep drainage systems clear. With proper care, a professionally installed flat roof delivers long-lasting protection, energy efficiency, and reliable performance in all weather conditions.
Frequently Asked Questions
How long does flat roofing installation take?
It depends on the size and condition of the building, but most projects are completed within a few days to a week.
Do I need to remove my old roof first?
In most cases, yes. Removing the old roofing ensures a stable foundation for the new system.
Is flat roofing installation messy?
Professional crews work to minimize disruption and keep the site clean throughout the process.
What ensures a flat roof lasts long-term?
Proper installation, high-quality materials, and regular maintenance are key to durability.
A properly installed Flat Roofing system provides strong protection, energy efficiency, and long-term reliability when each step is completed with precision and care.
Flat Roofing Maintenance Tips to Extend Roof Lifespan
Common Flat Roofing Problems and How to Prevent Them