When it comes to maintaining a home, one of the most important aspects is ensuring that the roof is in good condition. Whether you’re building a new home or replacing an old roof, understanding the roof installation process is essential. This step-by-step guide for homeowners will walk you through everything you need to know about roof installation to ensure a smooth and successful project.
Planning and Preparation for Roof Installation
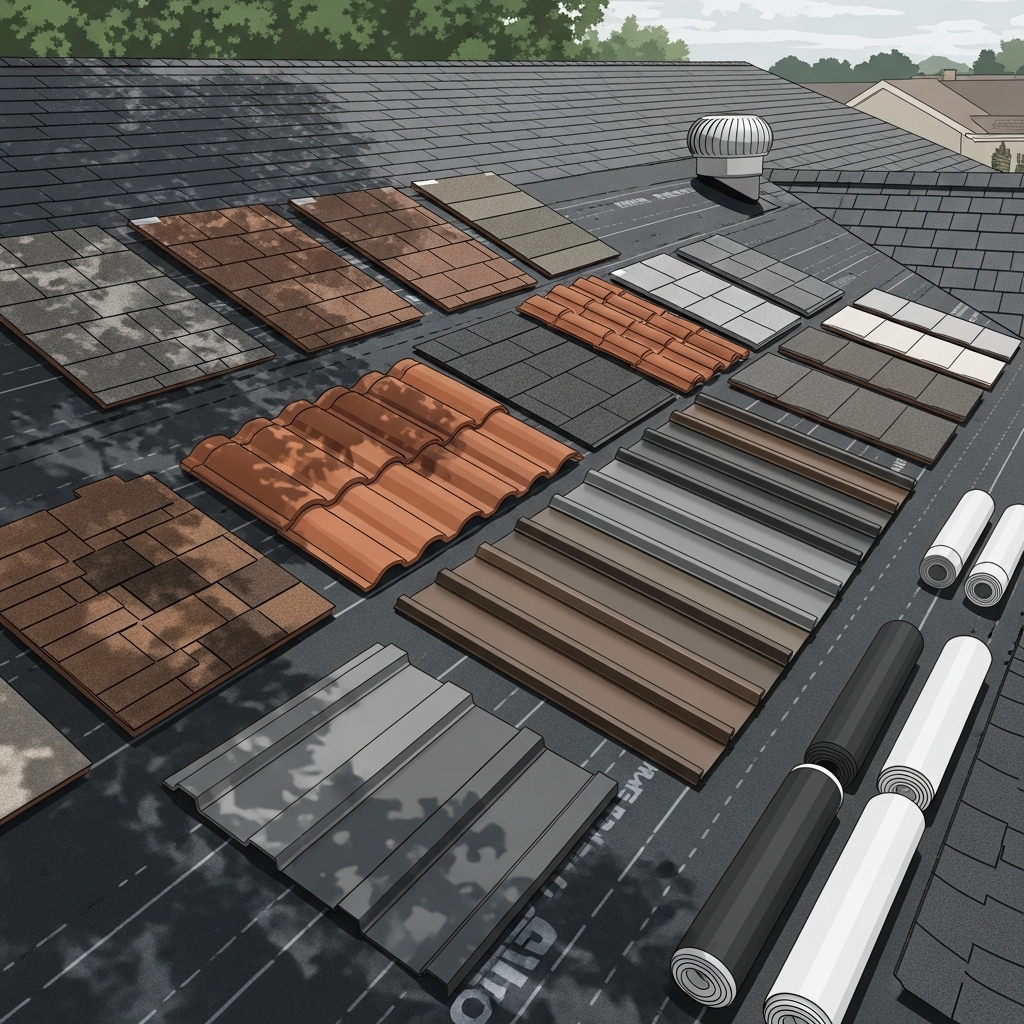
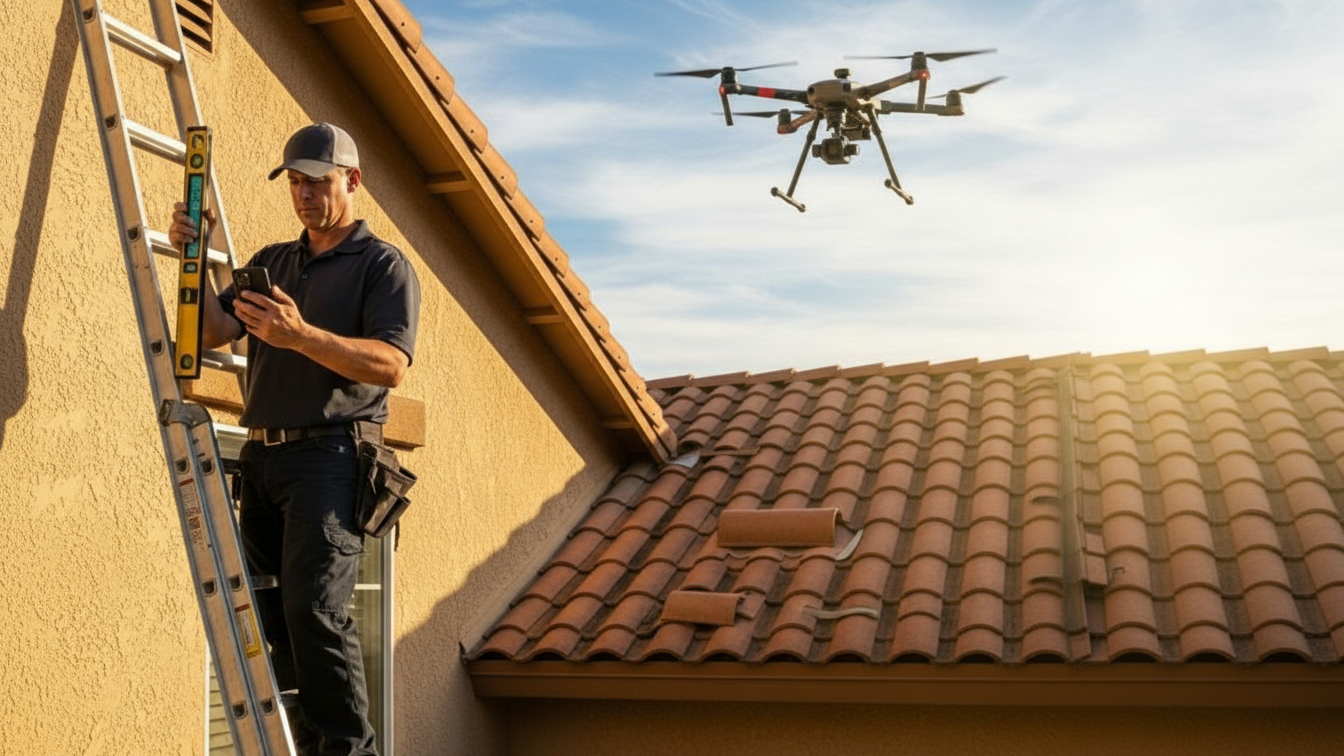
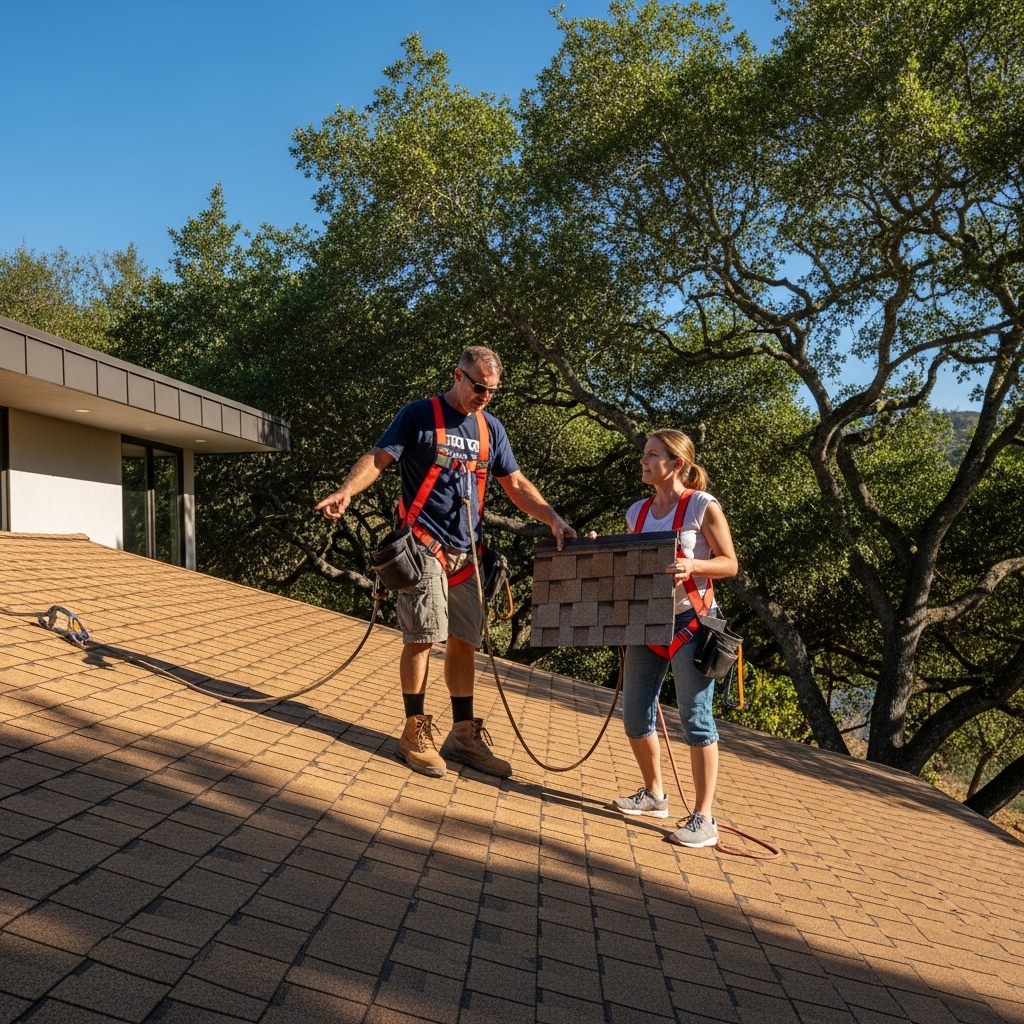
Before diving into the roof installation process, proper planning and preparation are crucial. Start by evaluating the condition of your current roof. If it’s a simple repair, you may be able to fix specific areas, but if the roof needs a complete replacement, it’s best to consult with a roofing contractor for a thorough inspection. When choosing a new roof, consider factors such as the material, climate suitability, and aesthetic preferences. Asphalt shingles are the most common, but other options like metal, tile, and slate may suit your home better depending on location and budget.
Additionally, you’ll want to ensure you have all the required permits. Many areas require a permit for roof replacement, and it’s essential to check local regulations to avoid fines or delays. A reputable contractor will typically handle permits and other paperwork for you, but it’s important to stay informed.
The Roof Installation Process: What to Expect
Once the preparation phase is complete, the actual roof installation can begin. First, the old roofing materials must be removed to expose the underlying structure. This process involves stripping off the shingles, underlayment, and potentially damaged wood, depending on the condition of your existing roof. After the removal, the roofing contractors will inspect the decking and replace any damaged sections to ensure a solid foundation for the new roof.
Next, the installation of the new roof will begin with the underlayment, which acts as a moisture barrier to protect your home from leaks. The underlayment is typically installed in overlapping layers to provide added protection. After that, the roofing material—whether it’s shingles, tiles, or metal panels—will be applied in a systematic pattern to ensure the roof is properly sealed and durable.
Throughout the installation process, attention to detail is critical. Flashing, which is used around chimneys, vents, and edges, must be properly installed to prevent water from seeping in. Ventilation is also an important factor, as a well-ventilated roof will reduce heat buildup and moisture accumulation, which can lead to mold or mildew.
Finally, once the roofing materials are securely in place, the installation team will conduct a thorough inspection to ensure everything is correctly aligned and sealed. Afterward, any leftover debris will be cleared from your property, and the roof will be ready for the final inspection, ensuring it meets all local building codes and safety standards.
Roof installation can be a significant investment, but it’s also one of the most important steps to protect your home. By following these steps and hiring a trusted contractor, you can ensure your new roof will provide long-lasting protection for years to come.
Read More:


